We share some of the best practices and recommendations when creating and uploading your art for your Sensaria products!
Creating design files
Color management
We recommend that you create your design files in CMYK, convert them to RBG, and then save the file in a PNG format with 300 DPI.
When uploading your image to Sensaria, we suggest you use high-resolution PNG files. We recommend you create your artwork in the PSD or TIFF format to retain the largest file size. Then save it as a PNG from Photoshop.
Our vendors apply their own color profiles based on the machine used to print your product. In some cases, you may notice a shift in color. With particularly bright and colorful designs, the end result may appear more muted. If an exact color match is important to you, we recommend ordering a sample to test your design.
One size fits most
A great default image size to use is: 6500px x 6500px at 300 DPI or larger.
If you're creating artwork that doesn't have text like basic pattern designs or photography, you can use this default size and it'll work across a large majority of our products.
Your image will simply be cropped depending on the aspect ratio of the print area. To further streamline your artwork creation, select the pixel dimensions for the largest SKU you'd like to offer in your store. When you upload your artwork, we'll automatically resize your image to fit the smaller print areas.
Creating designs with text
When dealing with text-based designs that don't contain a background, you can create a large PNG file and use our image editor to adjust the location and size of your text for each product.
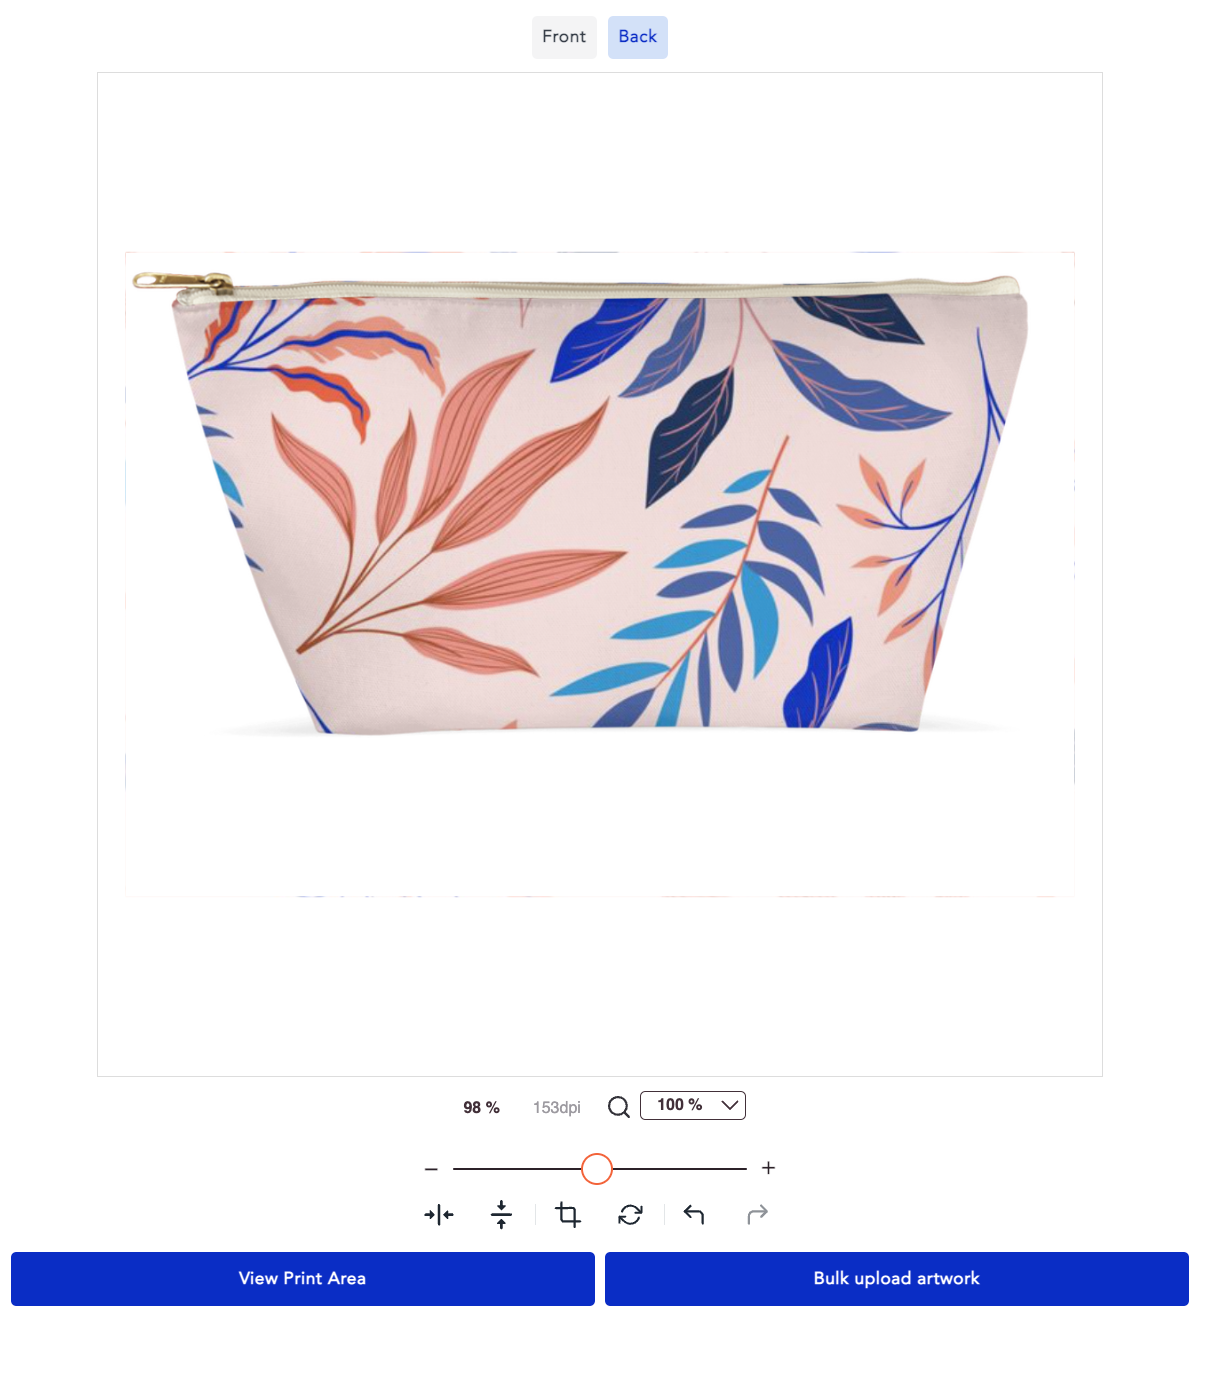
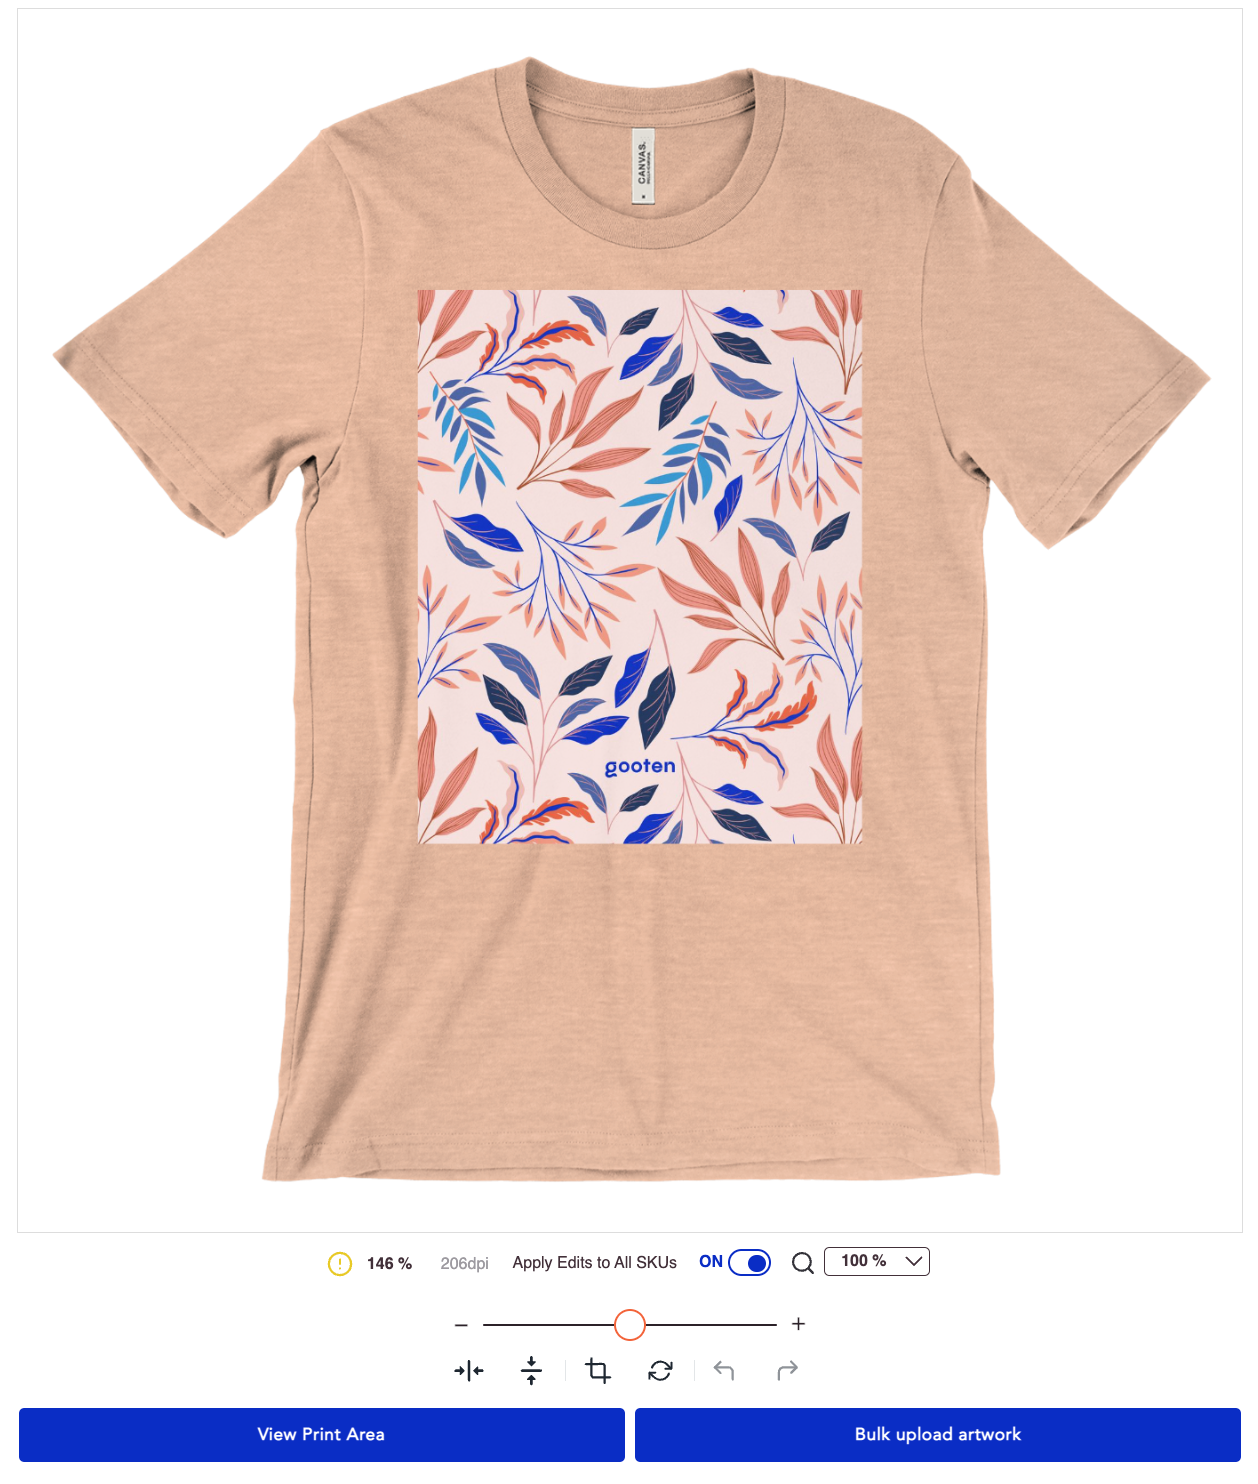
If your text design has a background, you'll need to extend the background on all sides to account for the various aspect ratios. See the image below for one piece of artwork used on an accessory pouch and a t-shirt.
Using our editor during product creation
Increase your efficiency by using our in-app editor to your advantage. You can rotate, resize, and move around your uploaded artwork during the product creation process.
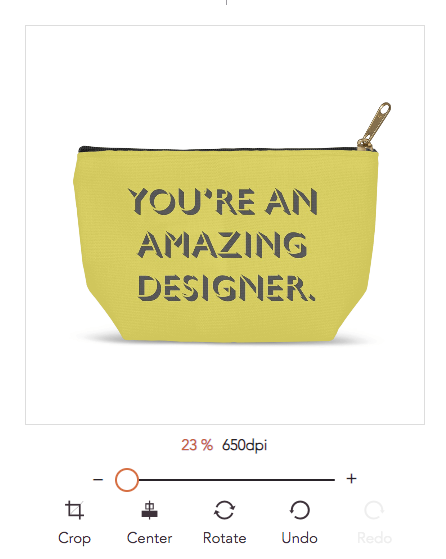
Zoom
When you use our image resize zoom slider, you may see a low image resolution warning.
- You can resolve this by uploading your artwork at a larger size or zooming out to make your artwork size smaller which increases the resolution.
Product view
Product View is an estimation of what your final product will look like when it's printed. This is not the exact science behind what it looks like as many products have some shifting during the production process.
Print view
Switch to Print View at the top of our editor to view the print area without the product. This helps to ensure your artwork is placed correctly. This is also a good way to see your print file as it will get sent to our manufacturers.