Check out some guidelines and recommendations when creating your designs for your Mugs!
Recommended file specifications
Save your artwork as JPG or PNG files using the print specs below. You can download our PSD and JPG templates for an easy way to get started.
| Product | Product Information | Template |
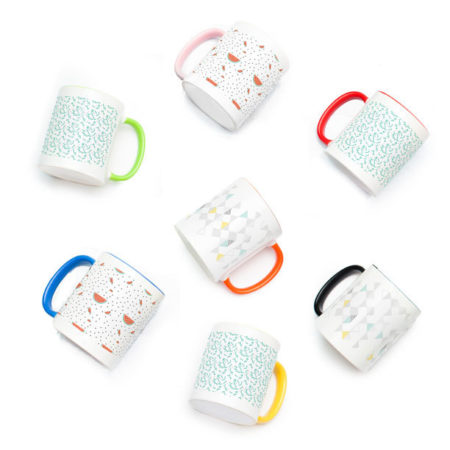
| Accent Mugs | Product Information | Template |
| Black Mugs | Product Information | Template |
| Mugs | Product Information | Template |
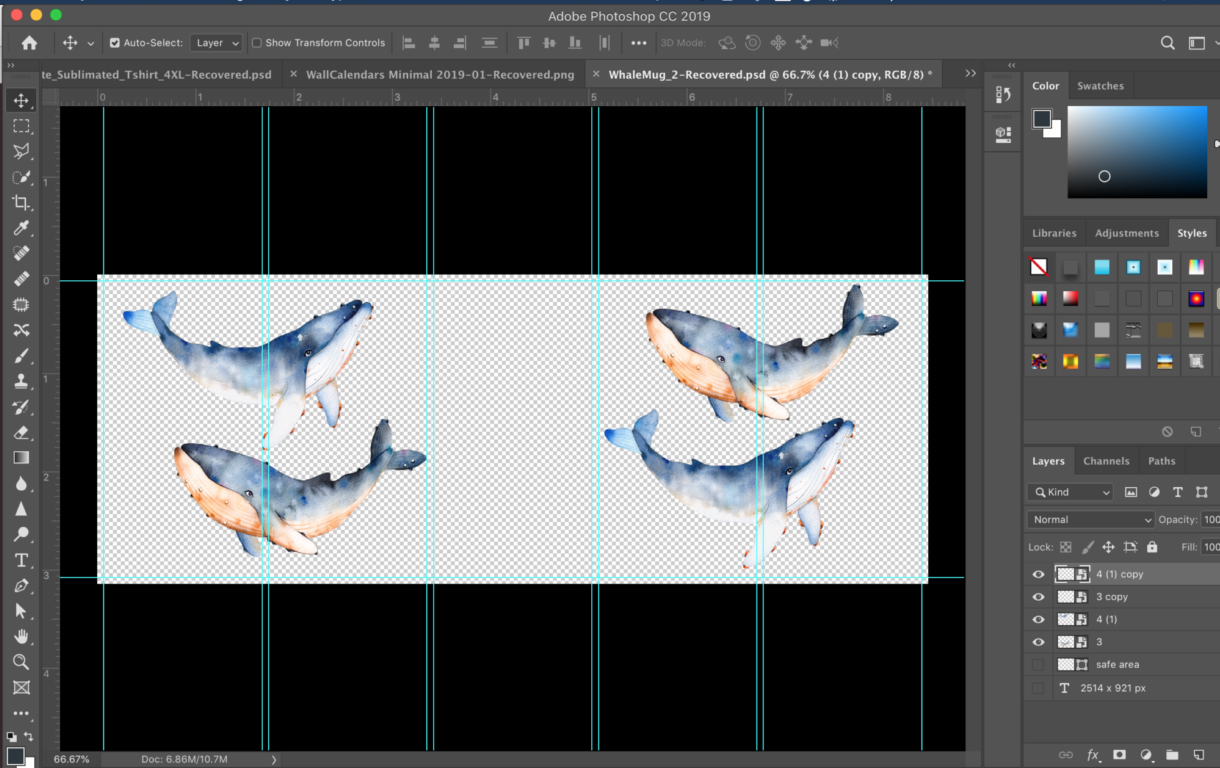
Creating Artwork in Photoshop or another image editing software
Start by preparing your canvas to be the same size as the print specifications for the product you’re designing for. In this case, create a new canvas with 2538x945 px and 300 dpi.
- Set your canvas in photoshop. Choose 300 dpi (resolution).
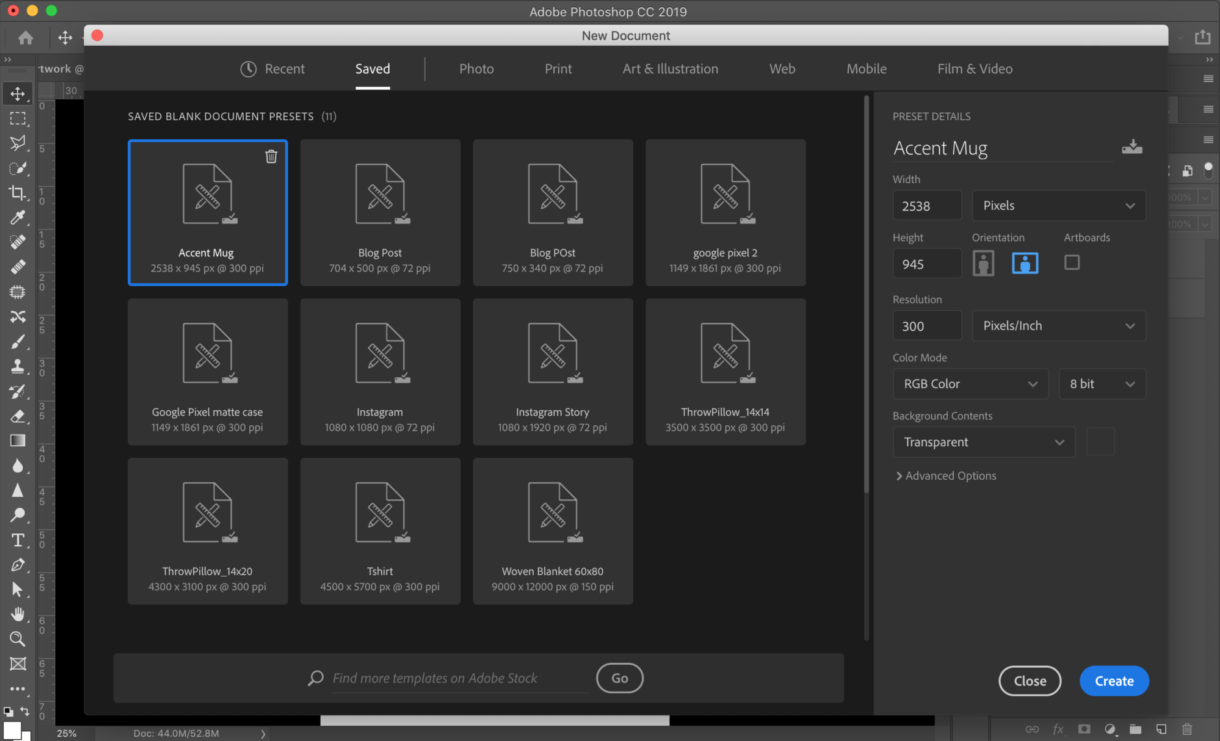
To save you time, you can use our photoshop templates and align your artwork so it’s centered on the front and back. Keep important design elements like text within the safe area.
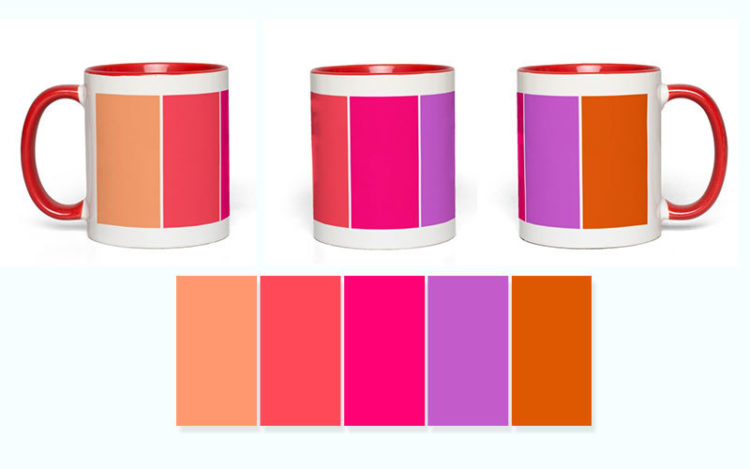
If you’re not using our photoshop templates, you can still easily align your artwork. If you imagine that your print area is divided into 5 quadrants, you’ll be able to center your design properly between the front and back.
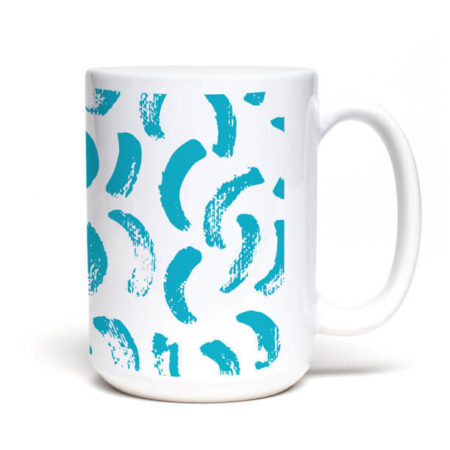
For images that wrap all the way around your mug, you don’t have to worry too much about the image placement. Just make sure the artwork is at least the size of the image spec. You can use our image editor in the Sensaria Admin to perfect your print placement.
Remember to...
- Follow the right specs for your product
- Save your image as 300 dpi
- Save your image as PNG or JPG (max size)
- Save as transparent PNG if the background is white or the same as the mug color.
- For best results, design your product in CMYK, but save your PNG/JPG as sRGB.