Check out some guidelines and recommendations when creating your designs for your Kiss Cut Stickers!
Recommended file specifications
Save your artwork as PNG files. Download our templates for an easy way to get started.
- For best printing, we recommend 150 dpi to 300 dpi
- Save the file as a PNG file
- Leave 25 px around the edge for the artwork to account for slight shifting during the printing process
| Product | Product Information | Template |
| Kiss Cut Stickers | Product Information | Template |
Creating Artwork in Photoshop or another image editing software
Start by preparing your canvas to be the same size as the print specs for the product you’re designing for. Use between 150 dpi to 300 dpi (the higher the better) and select RGB as the color mode. Select the 'transparent' option for the background.
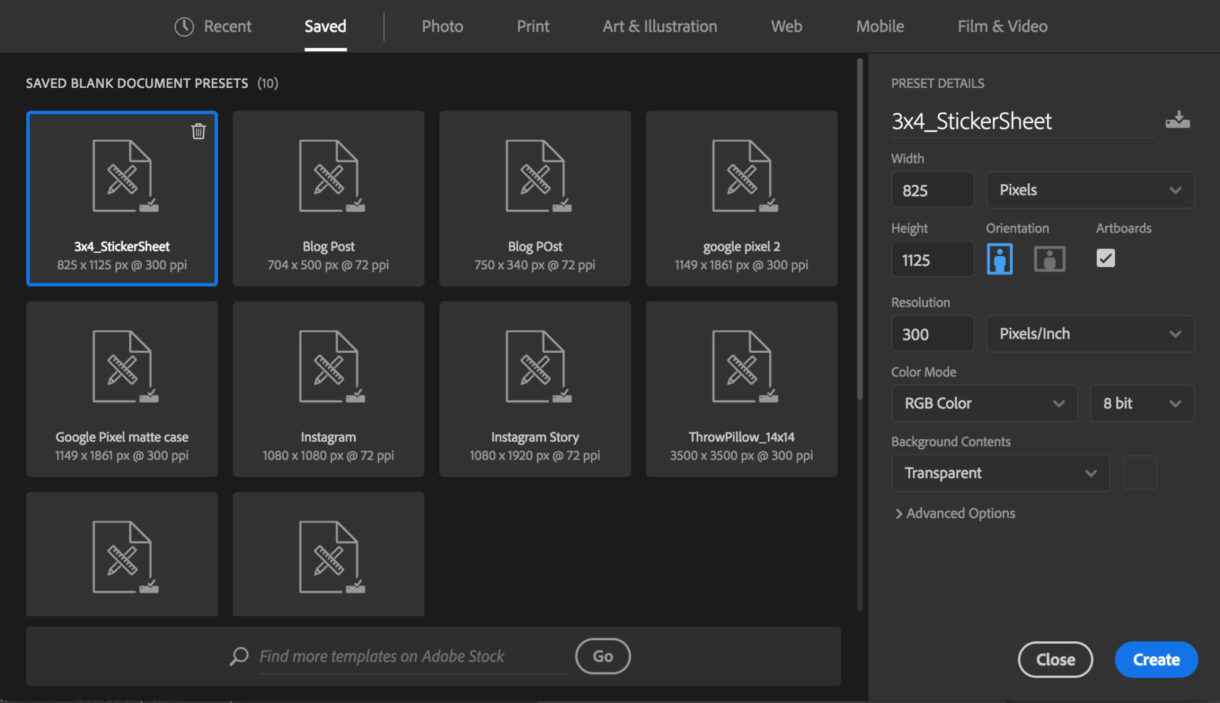
We recommend that you create your document sized to match the specifications above with a transparent background.
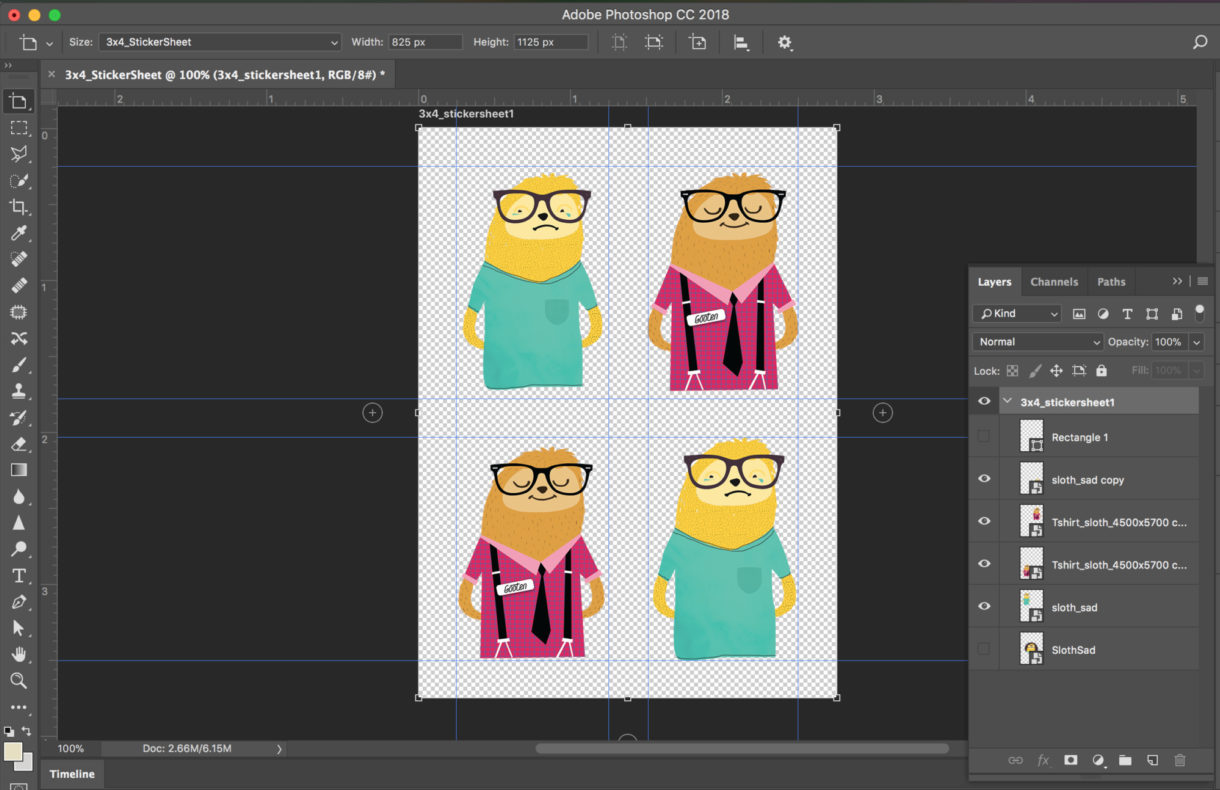
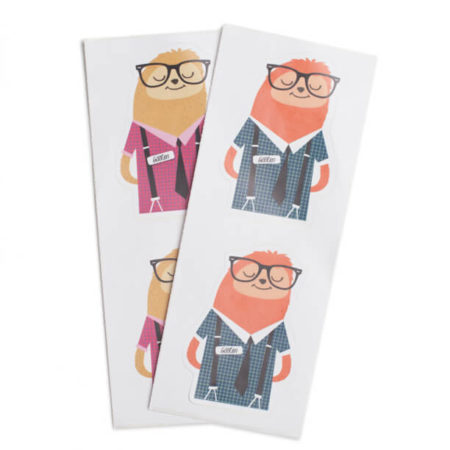
Place your individual stickers into your document with a space between each item greater than 1/4”. You can have as many individual stickers on each sheet that fits on the page.
It’s recommended to create and save individual stickers as a high-resolution image or vector file first, then place them into your sticker sheet document sized to the specs. That way you can move around your individual stickers and ensure there is enough space in between elements.
You can use this tutorial to learn how to create a transparent layer and manipulate images within the document.
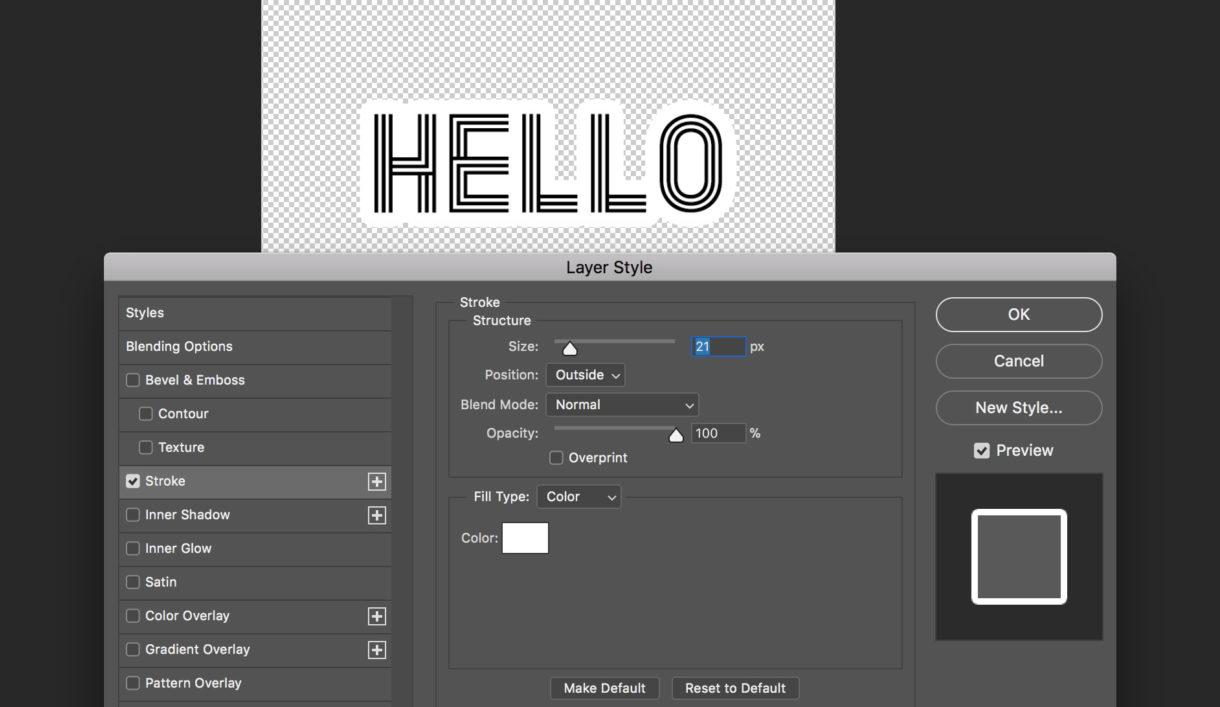
If your design includes type, you should connect the individual letters with color or white backgrounds to ensure they are grouped together in one sticker. An easy way to do this in Photoshop is to add a stroke to the outside edge of the text layer.
How the stickers are printed
Each sticker sheet is printed on adhesive paper, then laser cut around the individual elements.
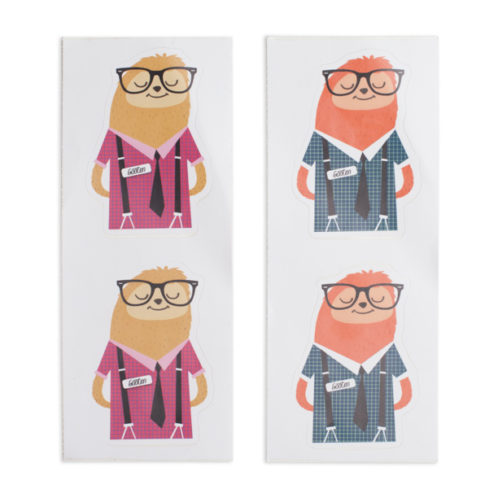
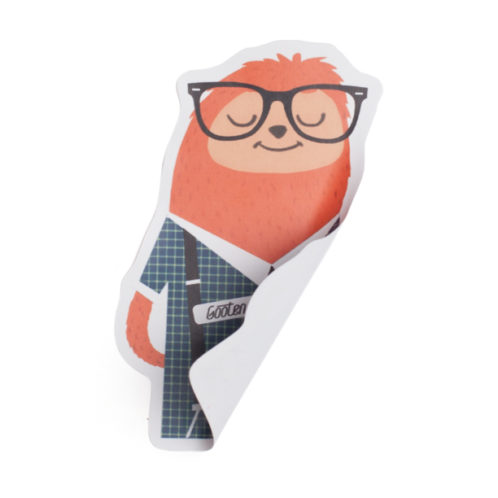
The manufacturer will add a 1/8” white border around each sticker.
Remember to...
- Follow the right specs for your product
- Ensure there is enough space in between the elements of your design
- Connect the elements that are grouped together as one sticker
- Save your image as 300dpi
- Save your image as a transparent PNG
- For best results, design your product in CMYK, but save your PNG as sRGB