- Etsy and Order Desk Integration
- Bulk product migration between Etsy and Order Desk
- Setting up direct image file URLs
- Setting up shipping methods
- Connecting multiple Etsy stores to Order Desk
Etsy and Order Desk Integration
If you have an Etsy store (or multiple Etsy stores), you can integrate it with Order Desk and use it as an Order Management System. You would also need to integrate your Sensaria account with Order Desk so that you can make sure all of the orders that come in from your Etsy store are automatically fulfilled by Sensaria.
- You can find detailed instructions on how to Integrate Etsy with Order Desk using this article.
- You can find detailed instructions on how to Integrate Sensaria with Order Desk using this article.
To automate the entire order submission process, you need to set up a rule in Order Desk that would automatically submit all Etsy orders that arrive into Order Desk to Gooten for fulfillment. The Order Rule would be set up as follows:
- Rule Type: Order Rule
- Event: Order is Imported
- Filter: Item Metadata inventory_location Equals Gooten
- Action: Submit Order to Gooten
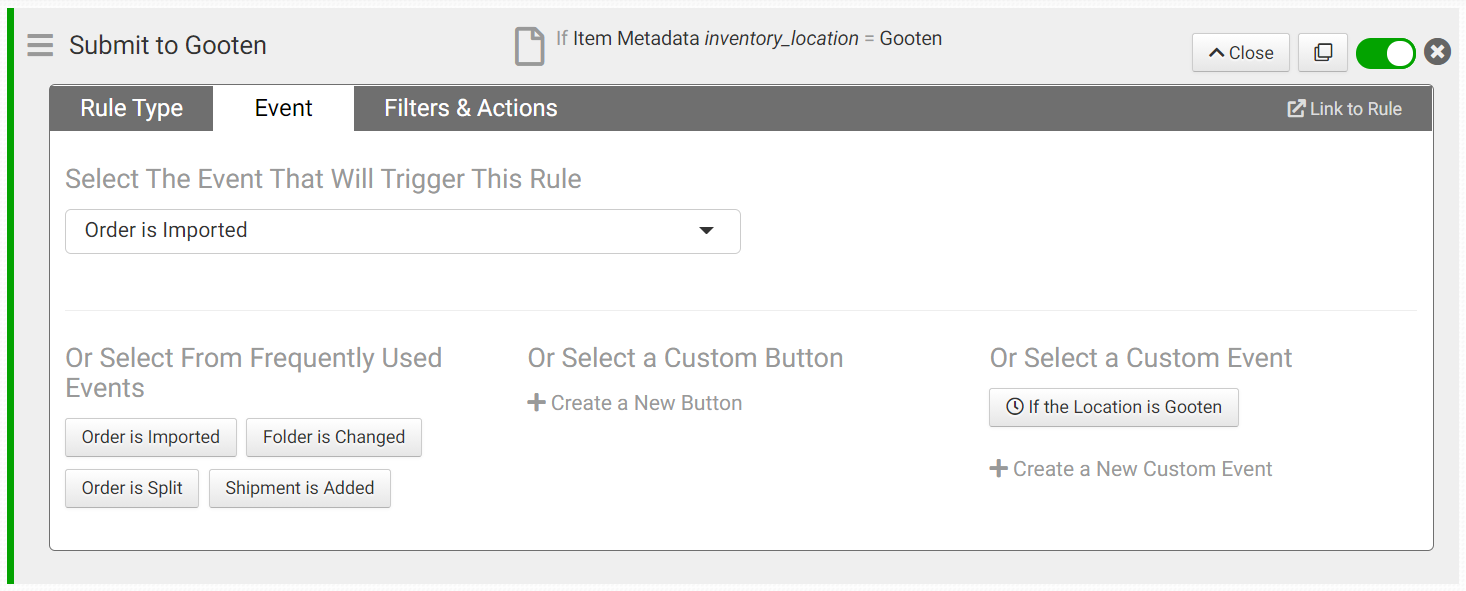
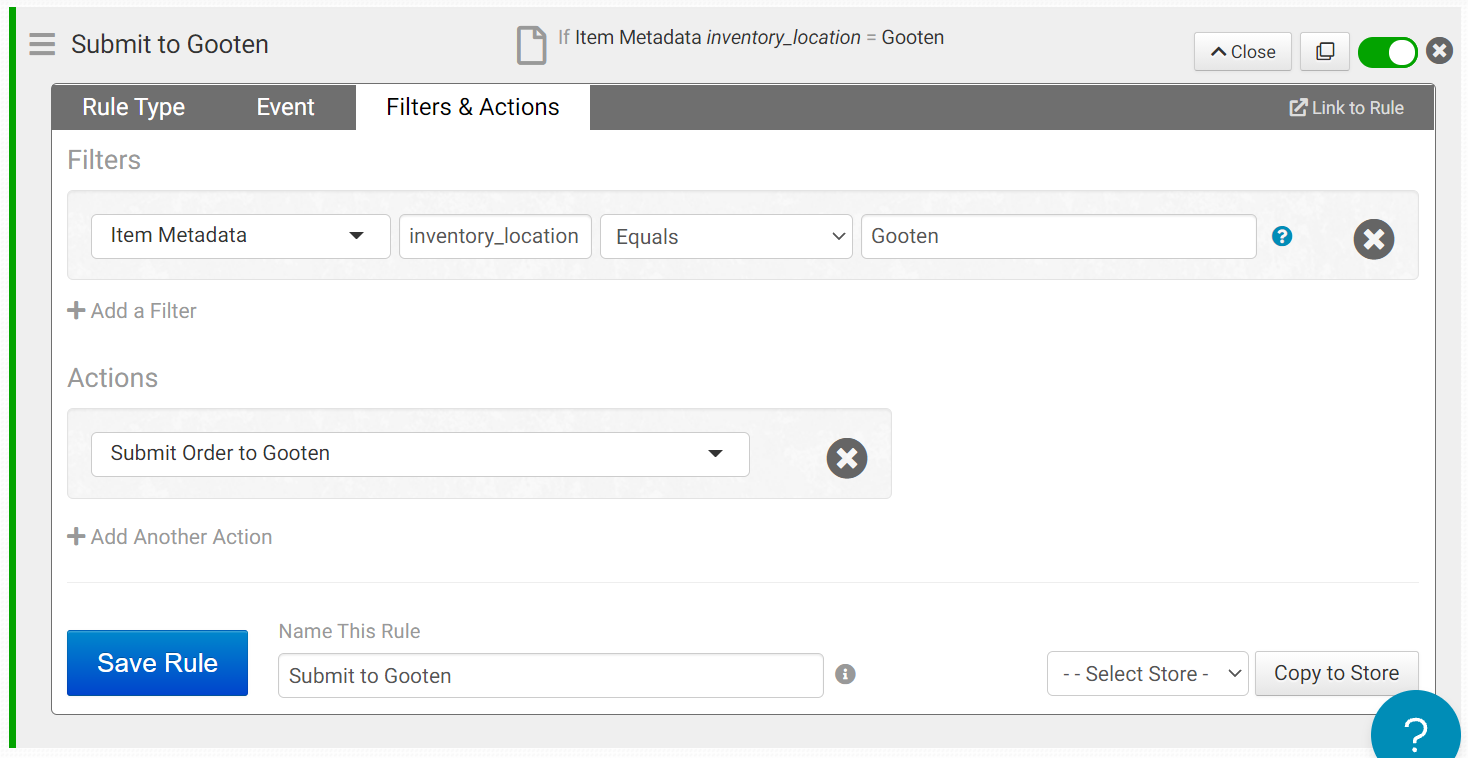
You can check a video tutorial on how to set up the Order Rule HERE.
This rule says that when an order is imported, if the items have "Gooten" selected as the location, then the order should be immediately submitted to Sensaria.
Bulk product migration between Etsy and Order Desk
If you don't already have your products set up in Sensaria Co-branded hub and want to set the products up in Order Desk instead, then an import spreadsheet would be the way to go.
To import data into Order Desk, you will need to have a .csv, .xlsx, or .txt file with your data. You won't be able to import that data directly into Order Desk. However, since each file will be unique per store, fulfillment service, personal preference, etc., you'll first have to create a template to match the information in your specific file so that it can be translated into Order Desk's names for each field.
The Order Desk article below explains how to set up an import template:
What you need to do next is to create a spreadsheet with your item details. This spreadsheet should include all the print_details that Sensaria will need to fulfill the orders. So the spreadsheet should have a column for the following details:
- Item Name: This should be the Item Name in Order Desk and should be unique for each item/variation you want to import to Order Desk.
- Item Code/SKU: This should be the SKU that you have set up in your Etsy store. Order Desk will be able to identify the items in your orders using the SKU.
- print_sku: This is the product code (Sensaria SKU) that we use to know what item is in the order. We'll be the ones to provide these to you for your items, or you can fetch these from the Product Hub during product creation.
- print_url: This is the link to the design that you want to be printed on your items. The Order Desk will pass this link over to Sensaria so that our system can retrieve the design and print it. If your item has multiple images, you can use print_url_1, print_url_2, all the way up to print_url_15 to pass on multiple links.
- print_preview: This is a link to the preview image for each item - *optional
- print_location: This is in case you have items with multiple images. If you do, you can specify where each image should be printed.
- location: This needs to be set as "Gooten" so that at a later time, you can create a rule in Order Desk for all items that have the location set as Gooten to be automatically sent to our system for fulfillment.
- Stock: This column will define stock levels for each inventory item you import into Order Desk.
The spreadsheet should have a column for the above details at the minimum. However, you can have columns for extra details such as the Price, Description, or anything similar.
The Order Desk doesn’t have any limit to the number of variations that an item can have. However, you can handle this by treating each variation as its unique item. So each variation should have its own unique SKU. That's what you'll use to know exactly which item is in an order.
In this case, we wouldn't have variants being nested under one parent product. Instead, each variant would be considered its own standalone product in the Order Desk system.
With that in mind, the Item Name will define the item name in Order Desk, and Item Code/SKU refers to the SKU of the variation. Each variation in Etsy should be given its own unique SKU, and then those SKUs are what should be included on the spreadsheet.
The print_sku value will map the corresponding Sensaria SKU to your Etsy SKU/variant. All the print_url files should be publicly available. They shouldn't require any login credentials to access our system to access the design files and print them easily.
You can specify the location for each inventory item by adding a column to the spreadsheet called Location. The value in this column should be "Gooten." When the spreadsheet is imported, all items with this value will be assigned to the "Gooten" location. You can then have a rule that says, "when an order is imported, split all the Gooten items out of the order and automatically send them to Gooten for fulfillment."
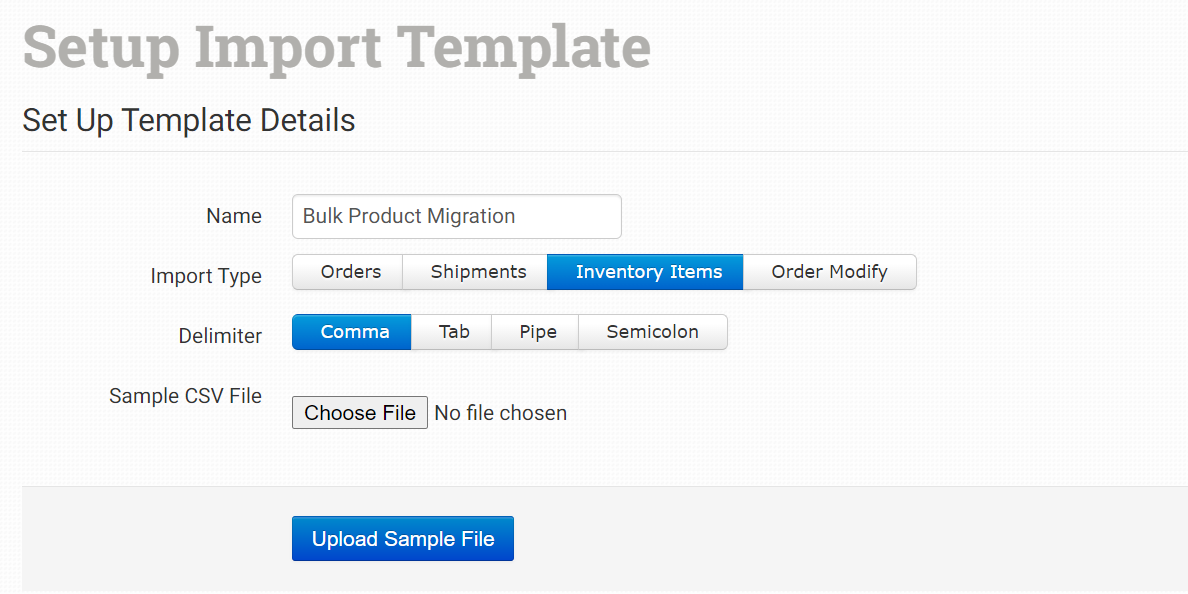
Once you have prepared the spreadsheet, you can create an import template to import the spreadsheet. The first step is to upload a sample CSV file to match the item values with the columns in your CSV.
Once you set up the template, you are ready to upload the CSV you prepared for import. All the products would then be stored in Order Desk so that when an order is imported from Etsy, the Order Desk would be able to identify the items in the order using the SKU and automatically sync in all the print details that Sensaria will need to fulfill the order such as the link to the print file. Once those details are synced in, the Order Desk will send the order to Sensaria to fulfill.
You can find an approved example of a CSV import file here:
- https://docs.google.com/spreadsheets/d/1vPuzsYFcSPBnOX-0rBOjhXGK1ouaLadjOZUp2CHDJUE/edit?usp=sharing
- Note: We intentionally skipped the print_preview column as it’s not mandatory for product fulfillment and print_location since the SKU we chose has only one print location (Center Front).
You can check a video tutorial on creating an Import Template for your products/inventory items HERE.
Setting up direct image file URLs
As for formatting the shareable image file links in Dropbox, you can follow the steps explained below. Please note that you'll need Dropbox direct links or any other image hosting service (S3/any publicly accessible URL that goes directly to the image file) - the links need to stay “live” forever.
Creating direct links:
- Navigate to the image file in your Dropbox storage
- Click on the "Share" button next to it
- Create a sharing link
- Copy the link created and paste it somewhere where you can easily edit it.
- Replace the string “www.dropbox.com” with “dl.dropboxusercontent.com” and delete everything after .JPG or .PNG and you'll have a direct download link
You can copy multiple sharing links directly into the CSV and delete the string "?dl=0" after the .JPG or .PNG using the "find and replace" feature (find “?dl=0“, replace with blank).
You can use the same function to bulk replace the string “www.dropbox.com” with “dl.dropboxusercontent.com” in the entire CSV.
Setting up shipping methods
For the last part, Order Desk supports the following shipping method names from Sensaria:
- Standard
- Expedited
- Overnight
- Worldwide Overnight.
The problem here is that the shipping methods that will come in with your Etsy orders will not match the shipping methods available at Sensaria; thus, all orders will be imported to Sensaria with the Standard shipping method.
However, two settings help ensure that Order Desk can send the correct shipping method names to Sensaria. The first is the "Default Mail Class" and the second is the "Shipping Class Match."
When placing an order in Etsy, if your customer picks an Expedited shipping method, the shipping method name on this order would be shown in Order Desk as Expedited - 3 business days. However, Sensaria doesn't have that shipping method name as the method is named "Expedited" in our system.
Order Desk doesn't know what shipping method to send to Sensaria. In most cases, it ends up resorting to the Default Mail Class setting in the Gooten integration. You can see this setting by clicking Gooten under the "Integrations" menu in the left-hand sidebar in Order Desk:
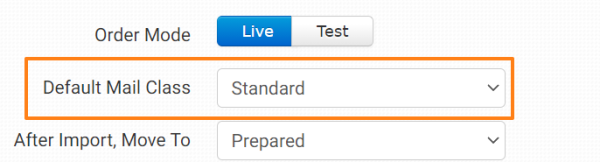
In the example above, the setting has been set to Standard, which tells Order Desk, "if an order has a shipping method name that doesn't match any of the shipping method names that Sensaria uses, then use Standard as the shipping method for that order."
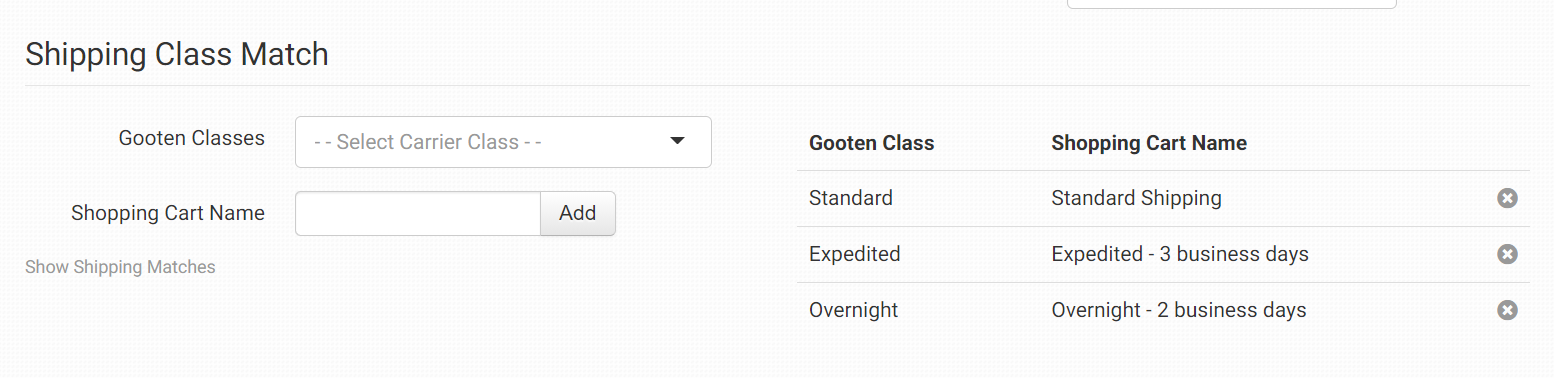
To prevent this from happening, you need to use the second shipping setting called the Shipping Class Match. It's used to translate the shipping method names that come in from the shopping cart (from your Etsy store) to the shipping method names used by Sensaria. You can use this setting to say, "when an order has Expedited - 3 business days as the shipping method name, tell Gooten to ship the order using Expedited."
You can add a Shipping Class Match to the Gooten integration so that Order Desk always knows what shipping methods to use depending on the shipping method names that come in from Etsy. Those settings would look like shown in the screenshot below:
You can check a video tutorial on how to match Shipping Classes HERE.
Once the order status is changed to Shipped in the Sensaria Co-branded hub, that action will trigger a webhook to update the corresponding order in Order Desk with a tracking number. Since the Order Desk and Etsy part is already automated, that action will push the tracking link from Order Desk and update the corresponding order in your Etsy store. The shipping notification email to your customer will also be automatically sent.
Connecting multiple Etsy stores to Order Desk
The critical thing to note is that Order Desk allows only one Etsy store connected to one Order Desk account. While you can connect to as many different integrations as needed on a single Order Desk store, a separate Order Desk store will be needed for each additional account you have for a single integration (two Shopify stores, two Etsy shops, etc.).
That means that we would need to create an additional Order Desk store for each Etsy store we want to connect. If you choose the Order Desk Plus subscription plan, you would be allowed to create as many Order Desk stores as you would like, but otherwise, you would have to pay subscription fees for each additional store.
More details on how to manage multiple stores can be found HERE.
And you can check the Order Desk pricing page for more details on available subscription plans.