Create a consistent branding experience and messaging by customizing your packing slips for your orders!
This feature allows you to completely personalize your branding and messaging information that is printed on your order's packing slip when shipped to your customers.
When you create and enable branded packing slips, they will be used for all of your orders. You cannot have select customers receive these branded packing slips. If enabled, they will be used for all your orders.
Also note that if you disable the branded packing slips, we will use the default packing slips from our vendors.
- Create Customized Packing Slips
- Edit Customized Packing Slips
- Disable and Enable Customized Packing Slips
Create Customized Packing Slips
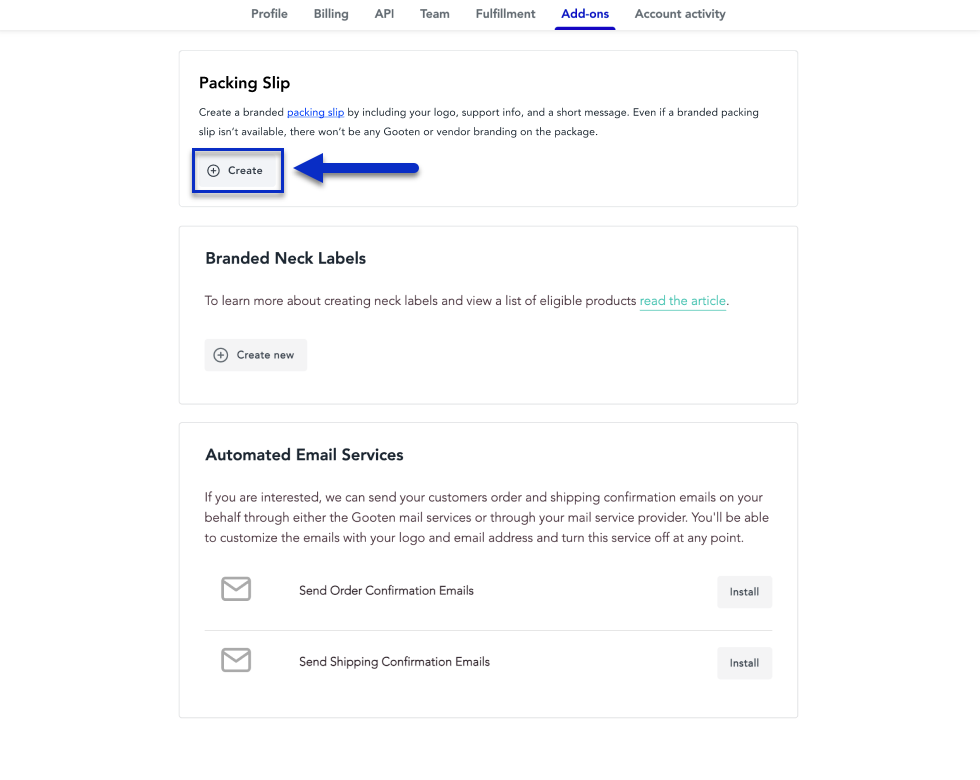
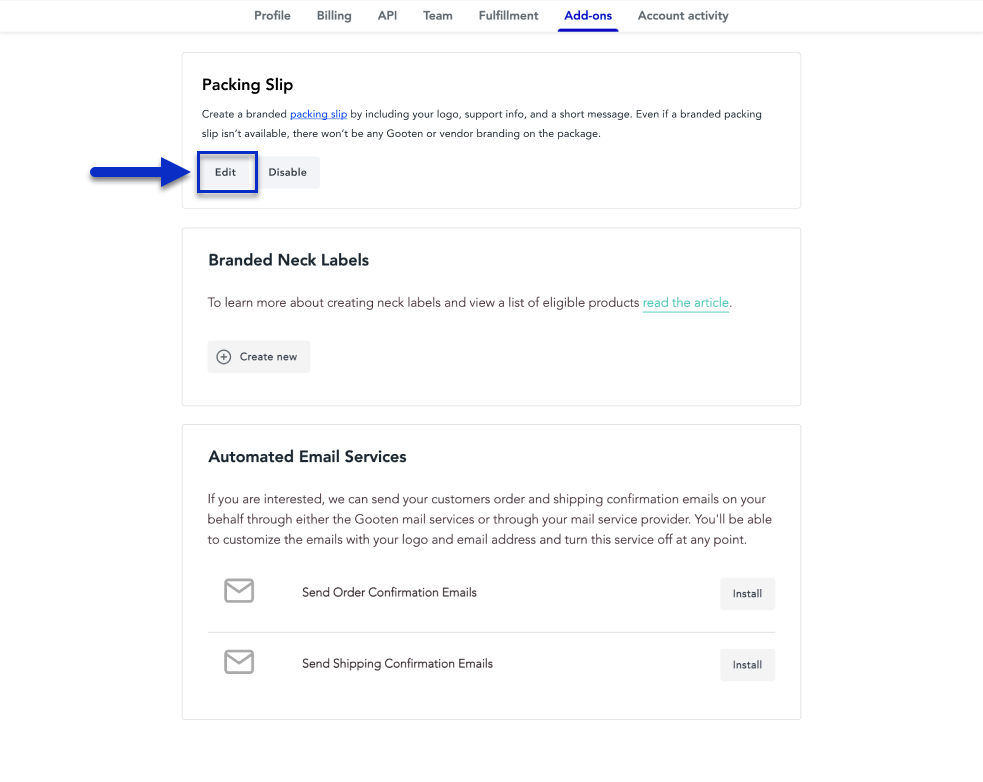
1. To get started with creating branded packing slips, go to the Add-ons tab on the Settings page.
2. In the Packing Slip section, click on the Create button.
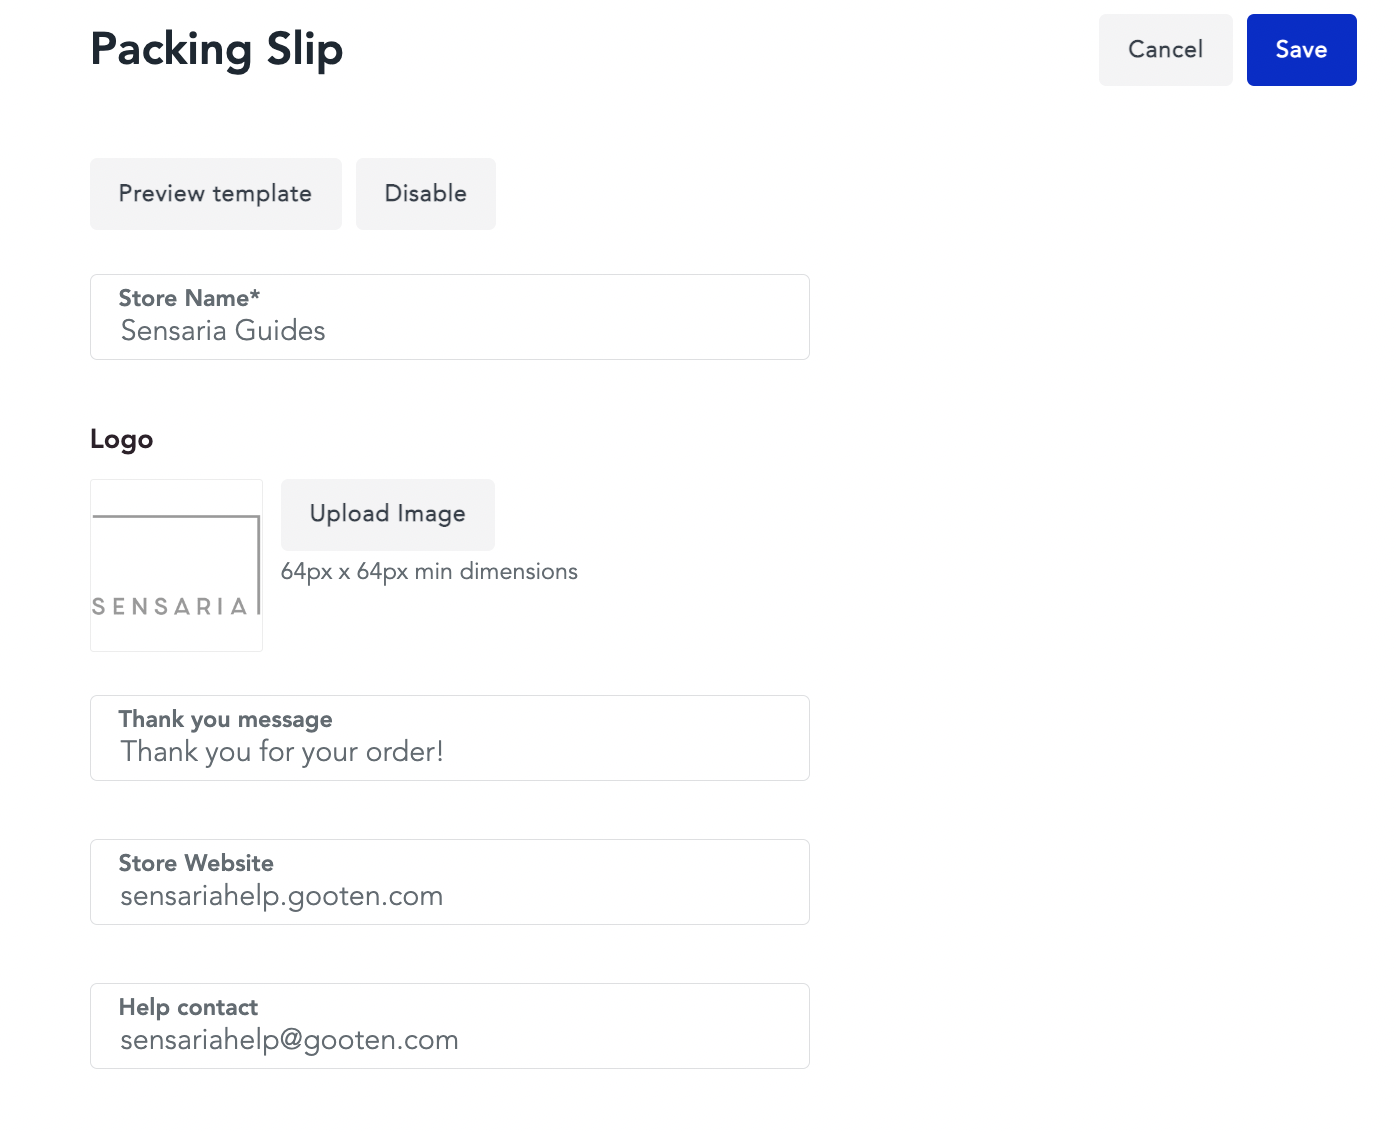
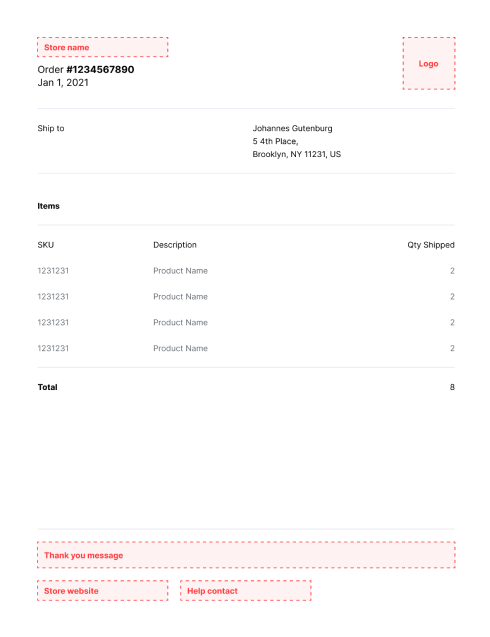
3. On this page, you can then personalize your packing slips. You're given the option to provide the following information. All fields have a maximum limit of 300 characters.
- Store name - If you're creating a personalized packing slip, it is required to add your store name. The store name will be displayed at the top right of the packing slip.
- Store logo - You can upload the design of your logo. The logo will be displayed at the top-right of the packing slip.
- The minimum dimension for the logo is 64 x 64px.
- Thank you message - You can include a personalized message for all of your customers. This message will be included on the packing slips for all your orders.
- Store website - You can add a link to your store's website URL that will be placed at the footer of the packing slip.
- Help contact - You can add a link to your support center or your support email using this field and it will be displayed next to the store website in the footer.
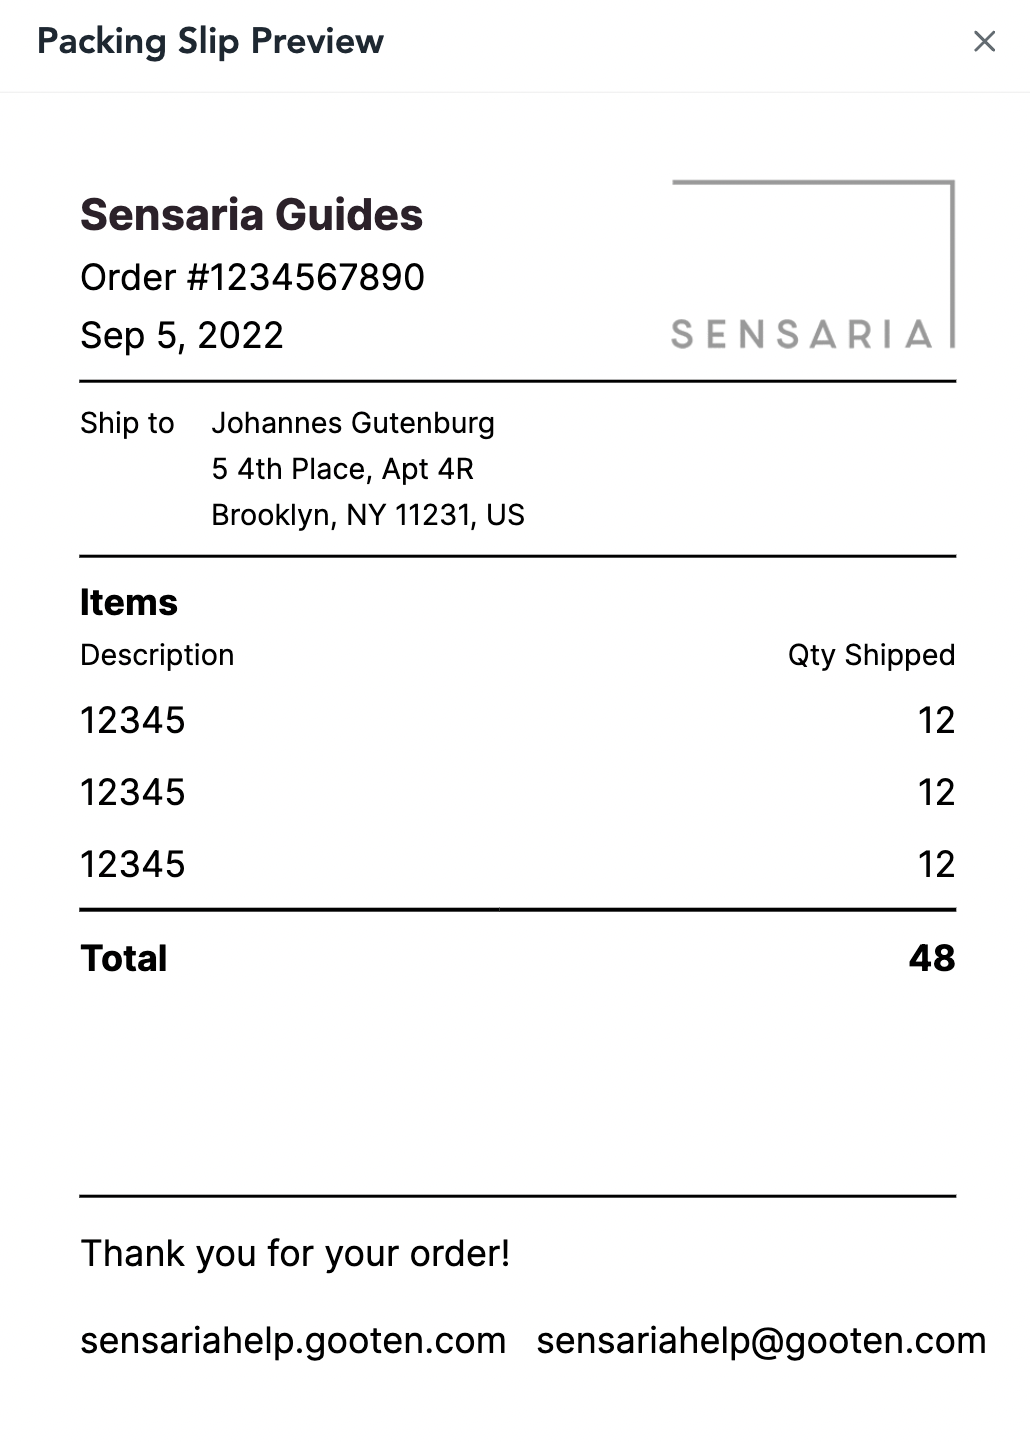
4. After personalizing your packing slip fields, you can preview the personalized packing slip by clicking on the Preview template button.
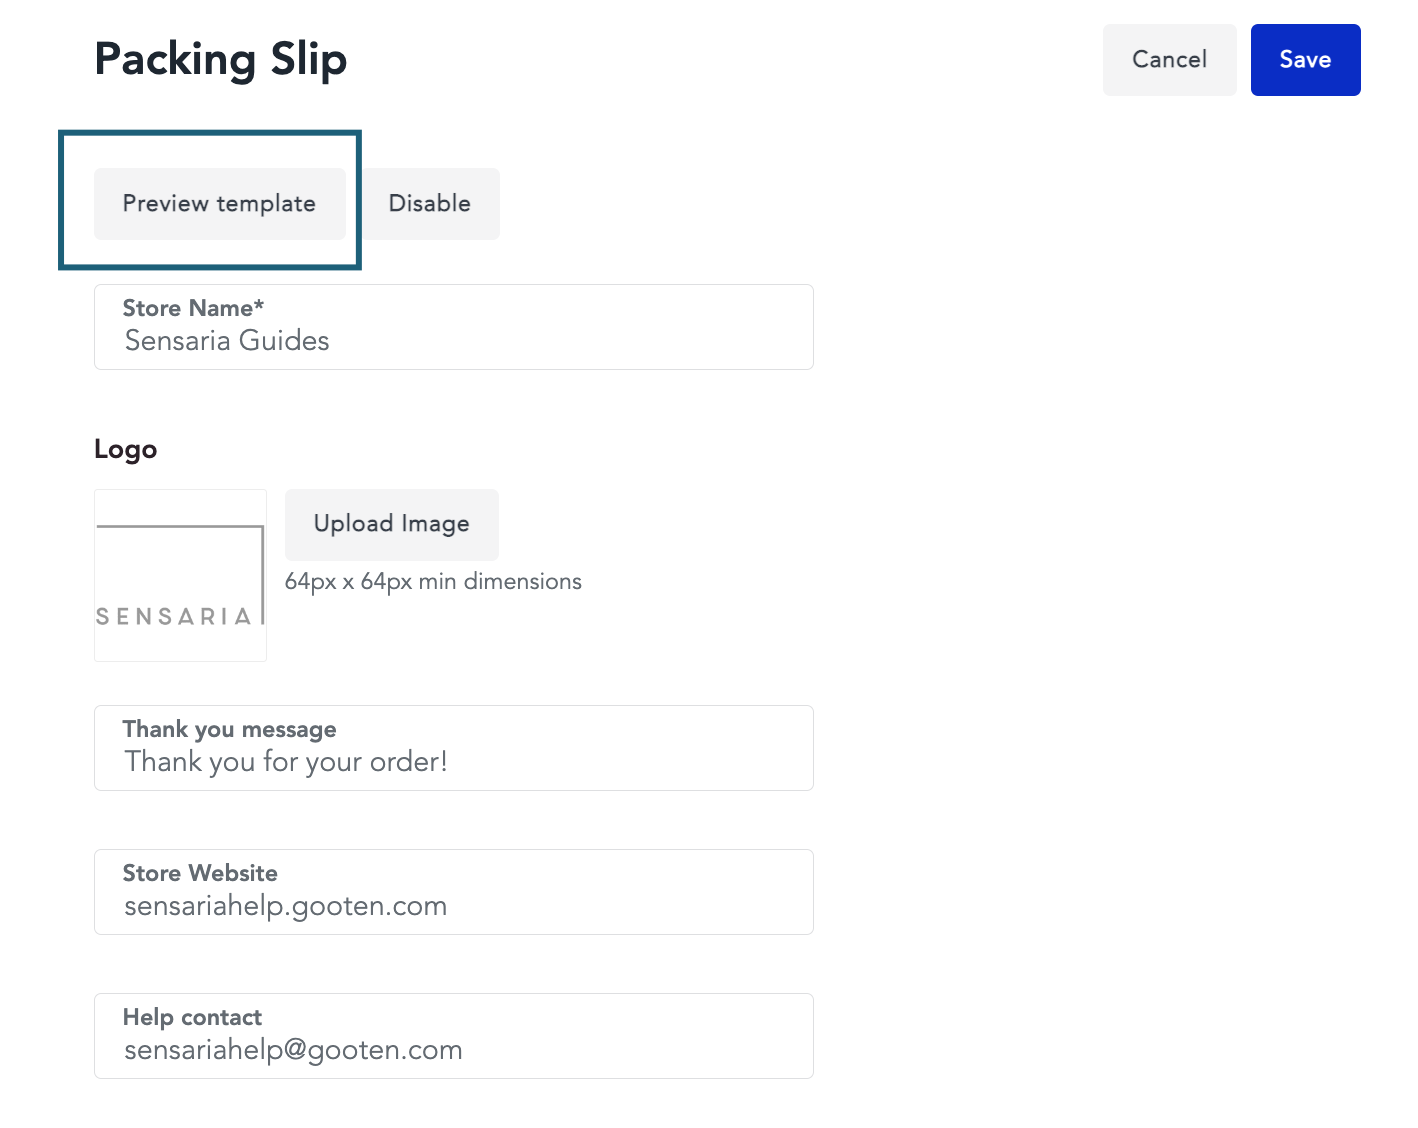
This will launch a PDF template in a new browser tab that will display a preview of what your packing slip will look like.
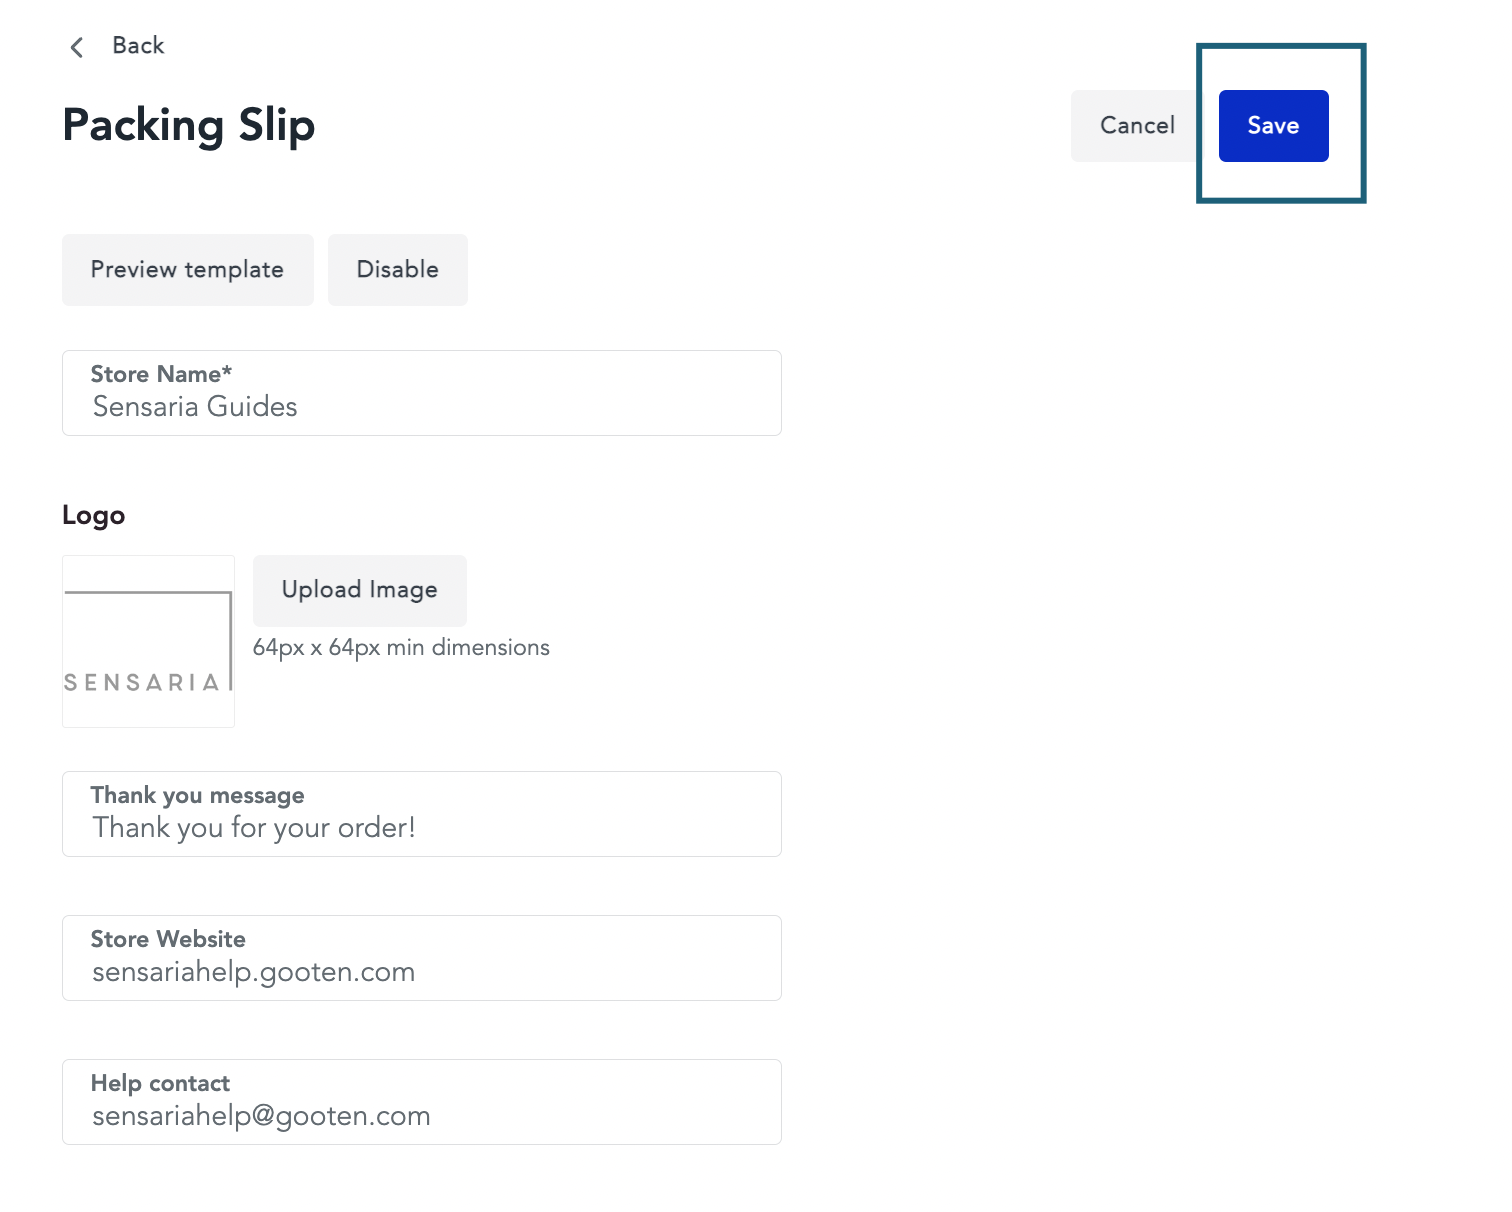
5. Once you're satisfied, go back to the Packing Slip page and click on the Save button.
- You'll receive a notification that your Packing slip was successfully updated.
- This will generate and enable your branded packing slip for all of your orders.
Edit Customized Packing Slips
1. To edit your branded packing slips that you've created, go to the Add-ons tab on the Settings page.
2. In the Packing Slip section, click on the Edit button.
- This will bring up the Packing Slips page and you can edit any of the fields on this page.
3. Make any changes to the packing slip fields and after you're done, click on the Preview template button to get a preview of your changed packing slip.
4. Once you're happy with the changes to the packing slip, click on the Save button.
- You'll receive a notification that your Packing slip was successfully updated.
- This will save all of the changes that you've made to the packing slip.
Disable and Enable Customized Packing Slips
You have the option to disable your customized packing slips using the disable feature. When you disable your customized packing slips, it will not delete any saved data from the customized packing slip.
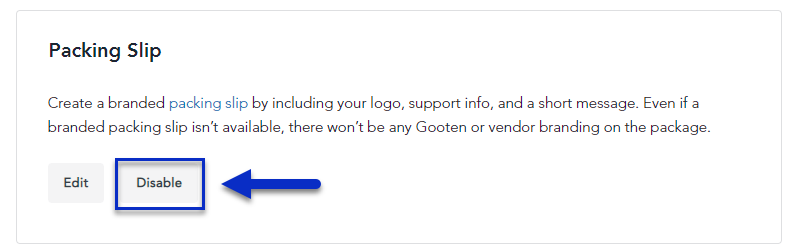
1. To disable your branded packing slips that you've created, go to the Add-ons tab on the Settings page.
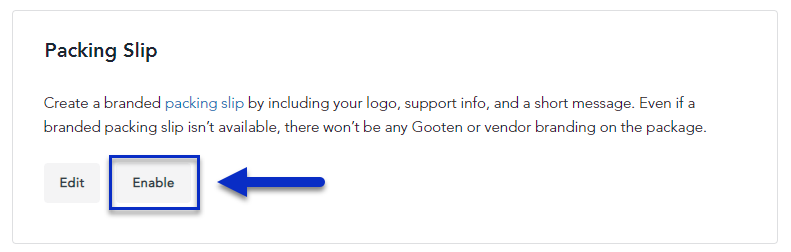
2. In the Packing Slip section, click on the Disable button.
- This will disable your customized packing slip feature for all of your orders and your orders will use our default vendor packing slip instead.
3. If you want to reenable your customized packing slips after being disabled, you can click on the Enable button.