Offering personalized products in your store by following these simple steps!
Enable Holding Items for Personalization and set up an increased Pending time to give yourself time to personalize your product before being sent to production
- Enable Hold Items for Personalization for all products
- Enable Hold Items for Personalization for select products
- Personalizing multiple items with personalization enabled in your order
Enable Hold Items for Personalization for all products
These are the steps to follow if you're selling personal products on Shopify, Etsy, or WooCommerce, and you're using Sensaria to automate the order fulfillment. This allows you to set up Holding Items for Personalization for all your products for your connected stores.
1. Connect your store to Sensaria.
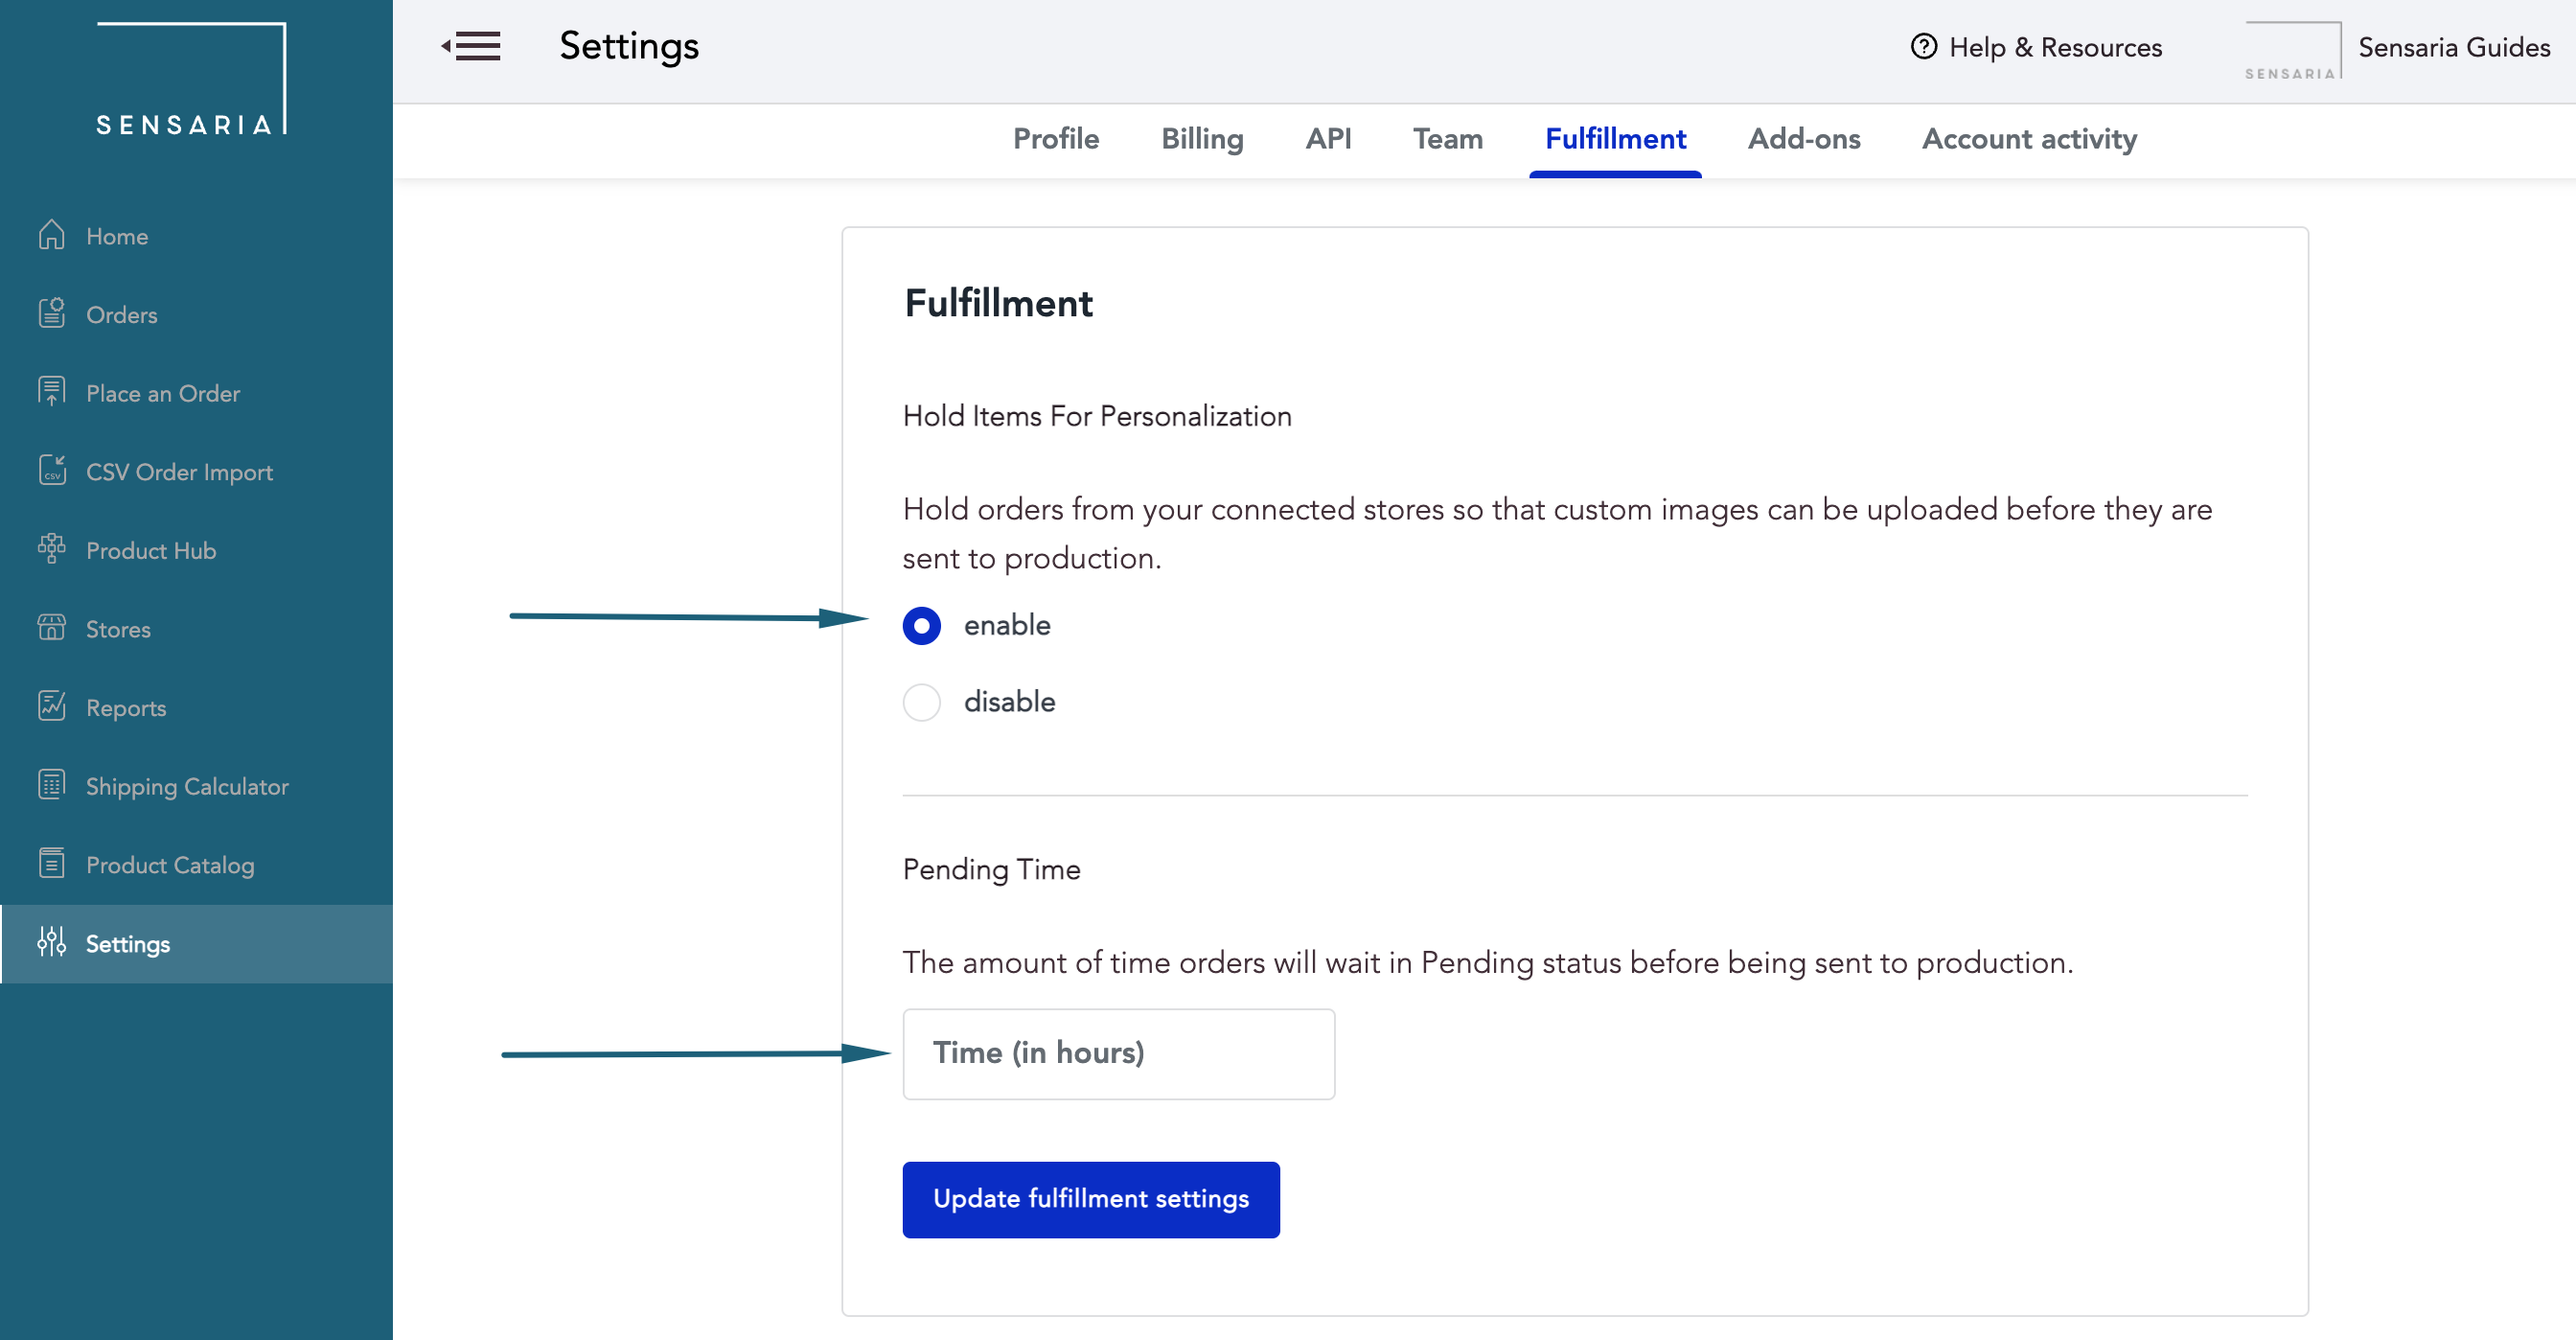
2. Navigate to the Fulfillment tab on the Settings page.
3. Click on the enabled option for the Hold Items for Personalization section.
4. Create products or sync existing ones via the Product Hub from your Etsy, Shopify, or WooCommerce stores. You can use any image you want as a placeholder for these products as you'll be editing your images before they go into production.
- Please note that we recommend using easily distinguishable placeholder images to avoid mixing personalized orders with regular ones.
5. After you link products to us and the orders start flowing into Sensaria; you'll be able to view them on the Orders page.
6. Your account must be set to immediate fulfillment for the personalization process to work. You can find more information about this setting here.
7. All of your orders (both personalized and non-personalized) will automatically go into the NeedsPersonalization status. Orders will remain in this status until the image is changed or you push the order into production.
Enable Hold Items for Personalization for select products
You can use the Hold for Personalization feature for only the products that require personalization in your store.
This feature allows you to minimize any delays or impacts for your store products that don't require any personalization. You'll be able to increase the speed that you can send orders to production, which includes both a mix of personalized and non-personalized orders.
These are the steps to follow if you're selling personal products on Shopify, Etsy, or WooCommerce, and you're using Sensaria to automate the order fulfillment. This allows you to set up Holding Items for Personalization for specific products for your connected stores that requires personalizing.
1. Connect your store to Sensaria.
2. Navigate to the Fulfillment tab on the Settings page.
3. Click on the disabled option for the Hold Items for Personalization section.
- You want to disable this because, in this scenario, you want to hold specific items for personalization rather than all the items.

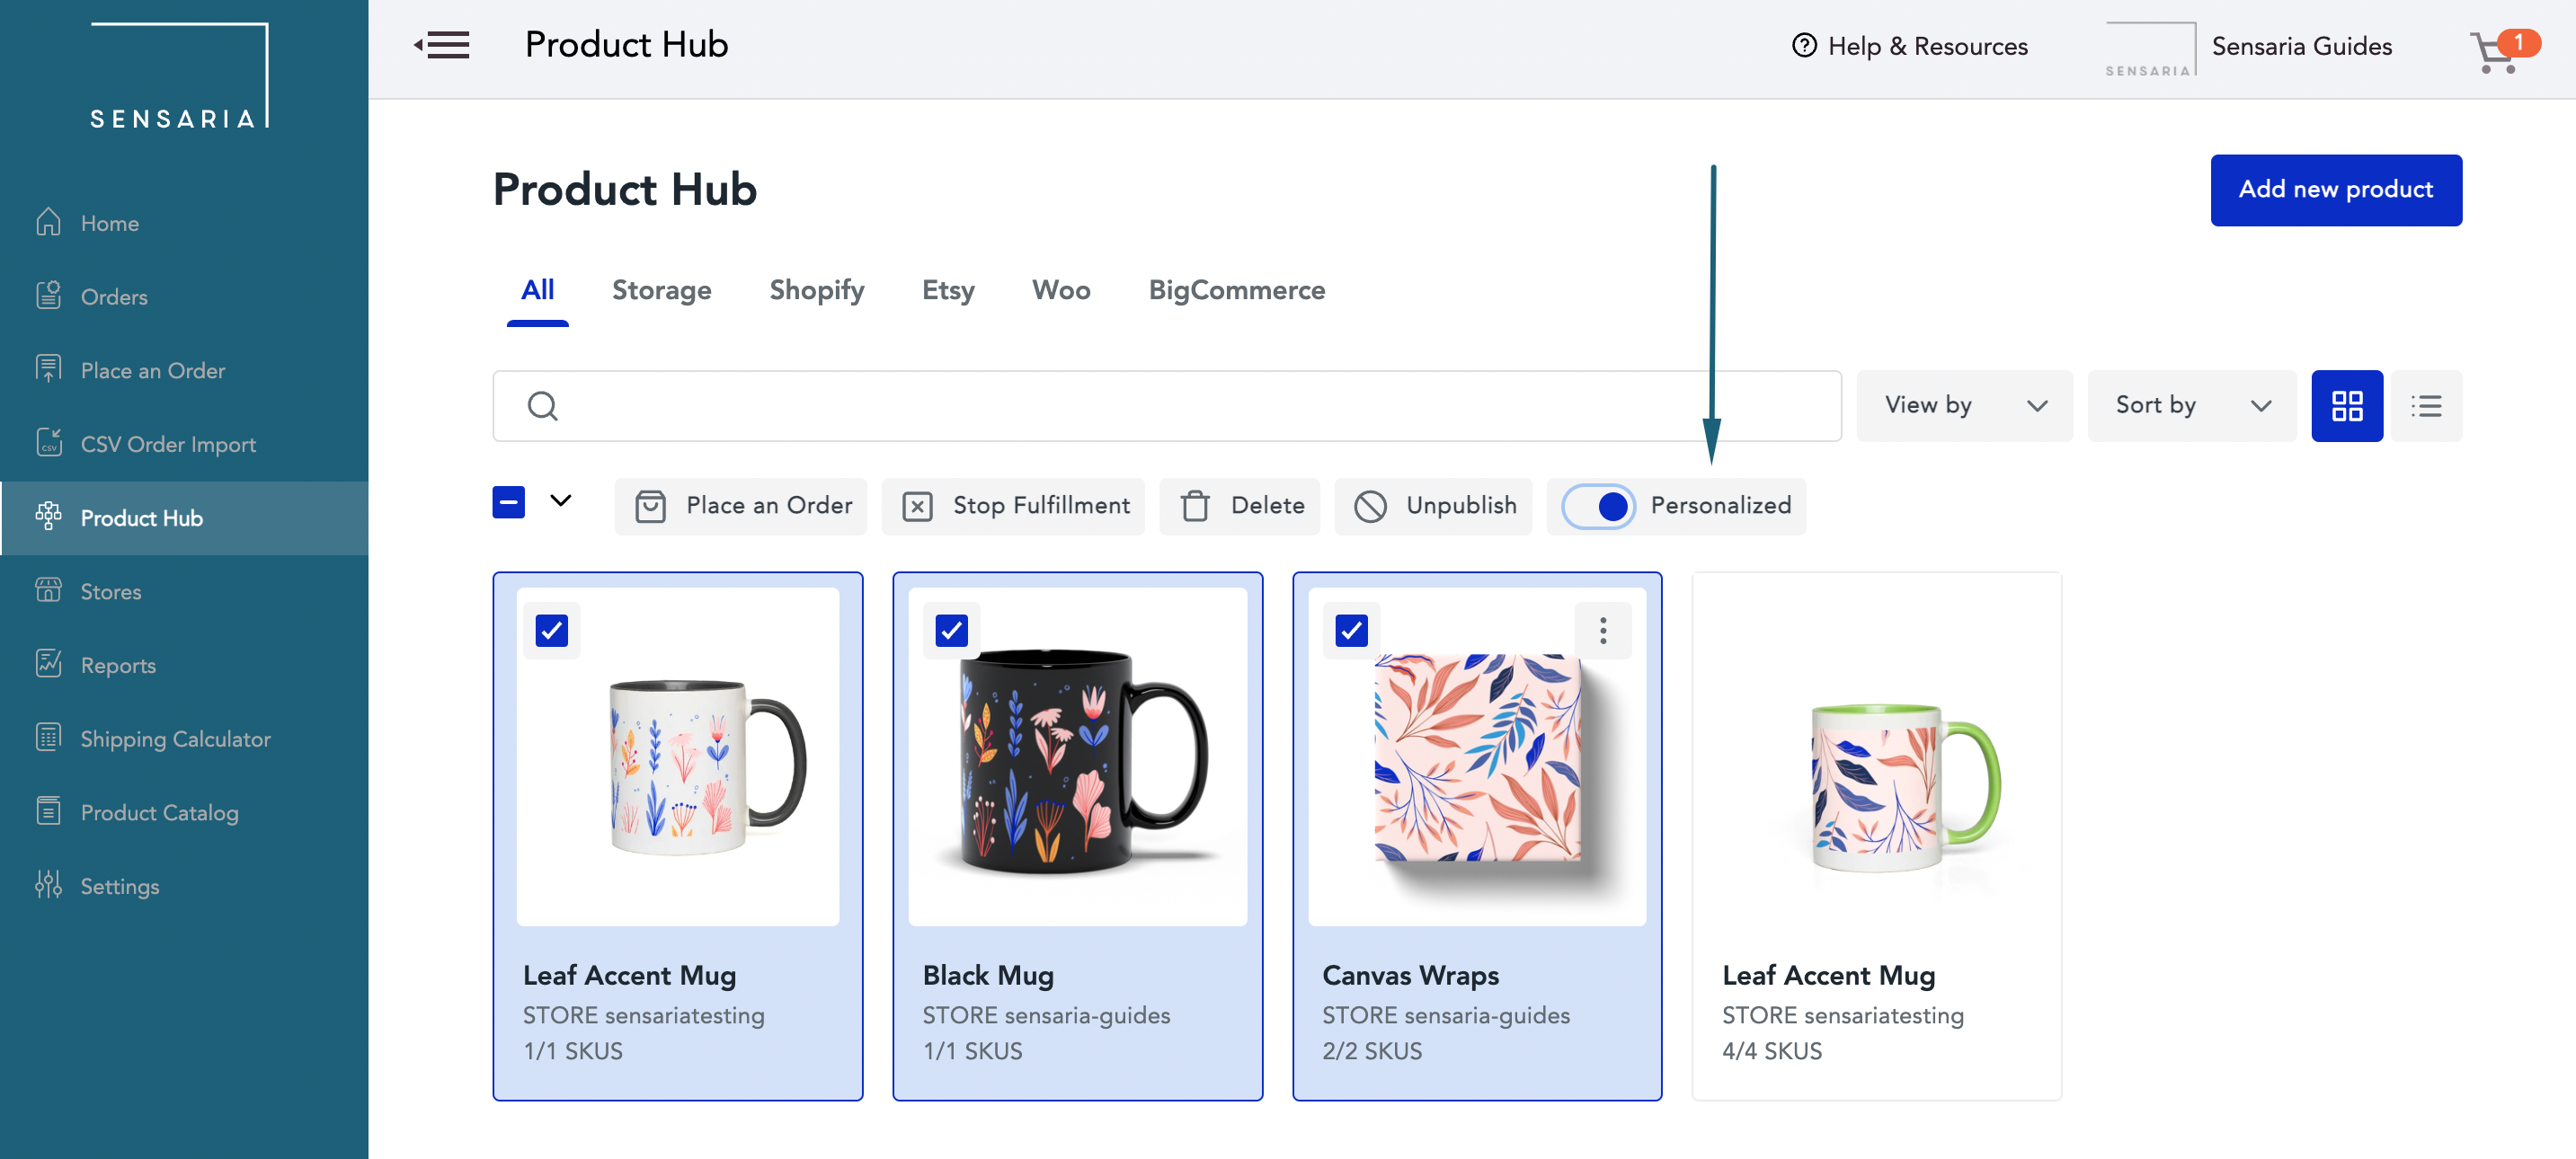
4. Navigate to your Product Hub and select the products you want to enable Hold Items for Personalization by clicking on the product.
5. After selecting the products, click on the Personalized option. This will enable the Hold for Personalization feature for the selected products.
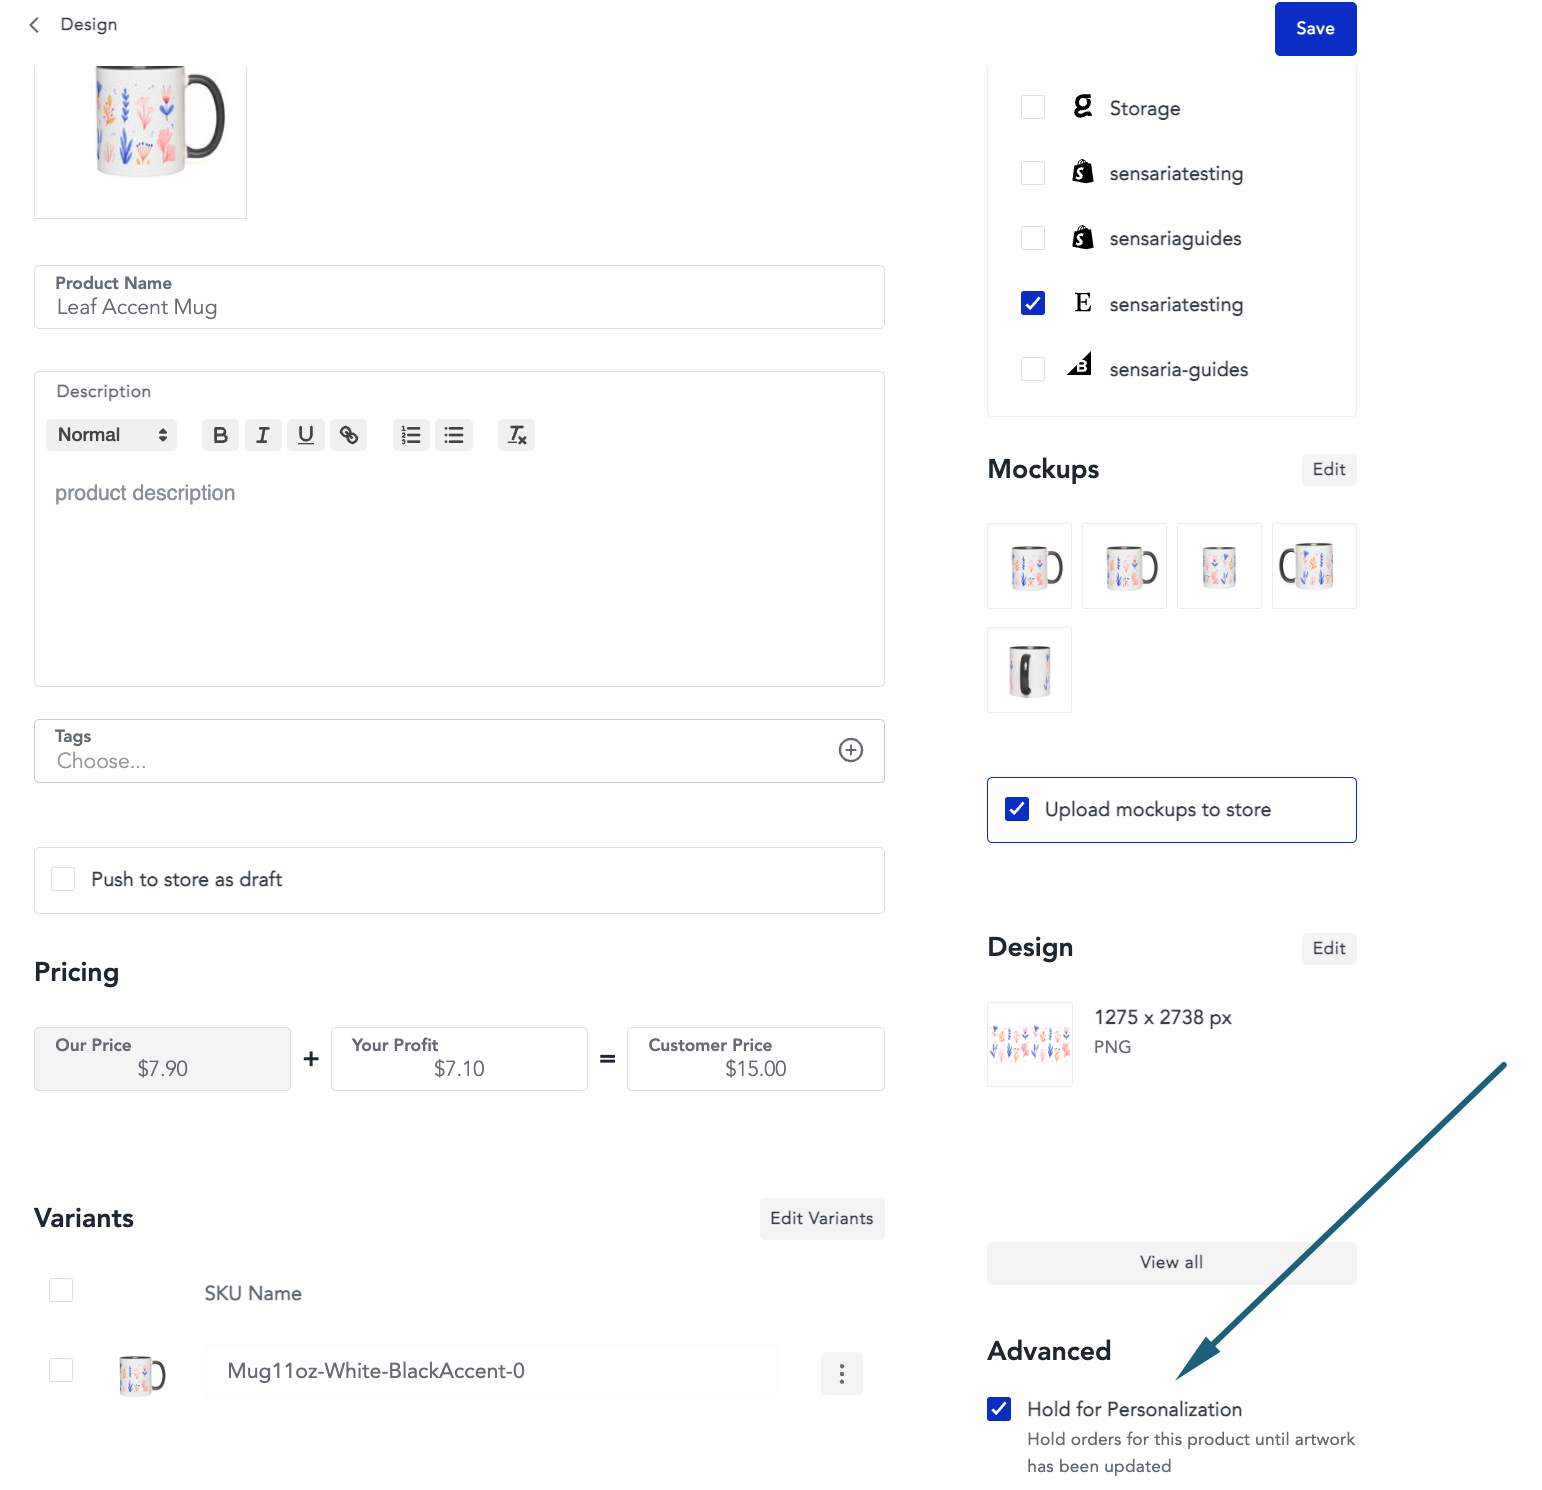
6. You can also enable the Hold for Personalization feature for a specific product by selecting the Hold for Personalization option in the Advanced section when editing your product in the Product Hub.
7. Any orders with those selected products will automatically go into the NeedsPersonalization status. Orders will remain in this status until the image is changed or you push the order into production.
Personalizing multiple items with personalization enabled in your order
For orders that have a personalized product with multiple quantities, you have an option to either personalize one product or personalize each product quantity.
Splitting your orders will keep the original order and our system will add a new line item in the original order. It will also update the quantity of the original order.
- You can only split the order if the order contains personalized products with multiple quantities and the order is not in production.
Personalizing multiple items in your order, regardless of quantity, allows you to tailor your artwork designs for each product in your order.
1. Go to the Images tab in your order and look for the product that you want to personalize that has multiple quantities.
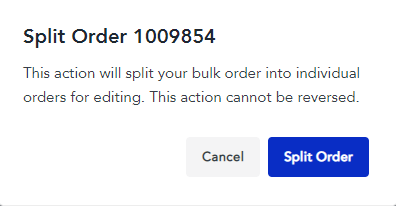
2. When you click on the product, click on the Split Order button.
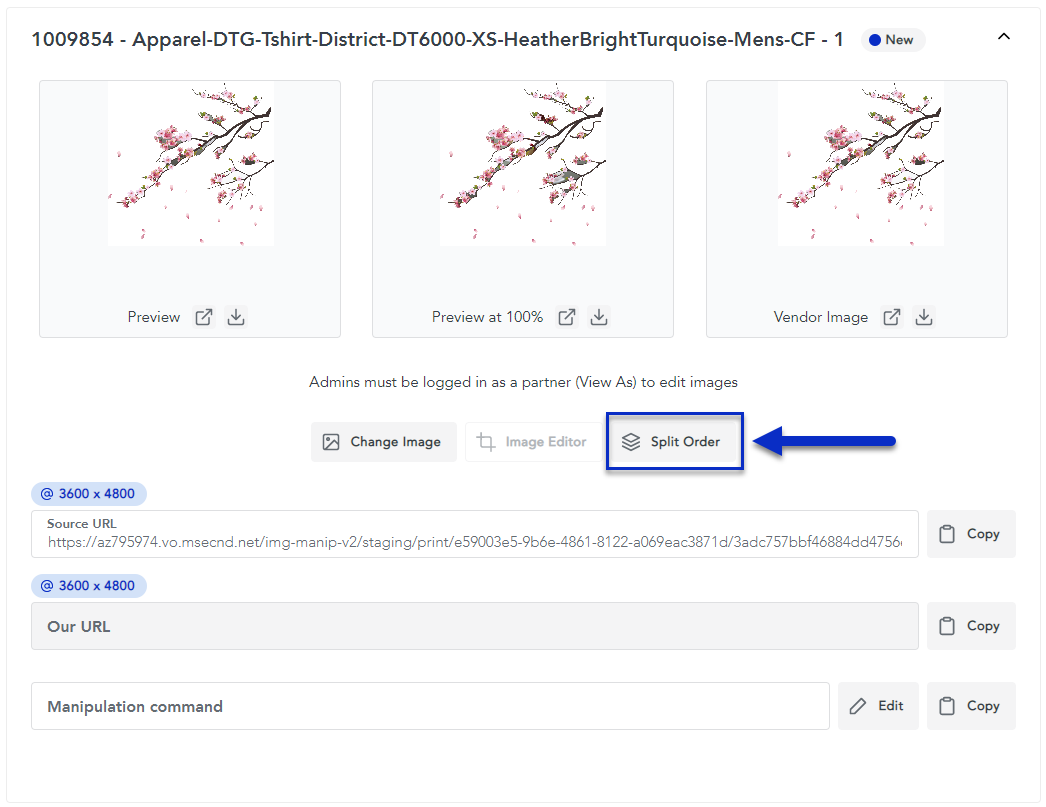
3. You'll then be asked to confirm that you want to split the order and you can click on the Split Order button in the prompt.
This action cannot be reversed. Once you split the items, you'll then be able to change and upload an image for each individual item that you have split in the order.
Our system will add a new line item to the original order and it will also update the quantity of the original order.
This will allow you to go back into the Images tab to upload your artwork for each line item.