What is image transparency and how does it occur? What is the bleed area? What’s a safe zone? Why do we care about these in printing?
Image transparency
Image transparency is when your image is clear or your image is not taking up the entire print area resulting in the print displaying the effects/colors of the image or design behind it.
Transparency in our system typically occurs due to incorrect positioning of an image on our image editor. This may happen when you zoom out too much and you do not populate the entire printing area with your design.
When this occurs, your image may be printed but since it's not taking up the entire printing area, transparent pixels will be added to make up for it. They will be printed as the base color of the product.
Refunds and reprints for image transparency issues
In the case that your order has an image transparency issue due to incorrect positioning of your image, we cannot offer refunds or reprints to your customers at our cost. You are responsible for covering the costs (for refunds or reprints by your customer) of any issues with your product due to incorrect positioning that leads to image transparency.
Differences between bleed area and the safe zone
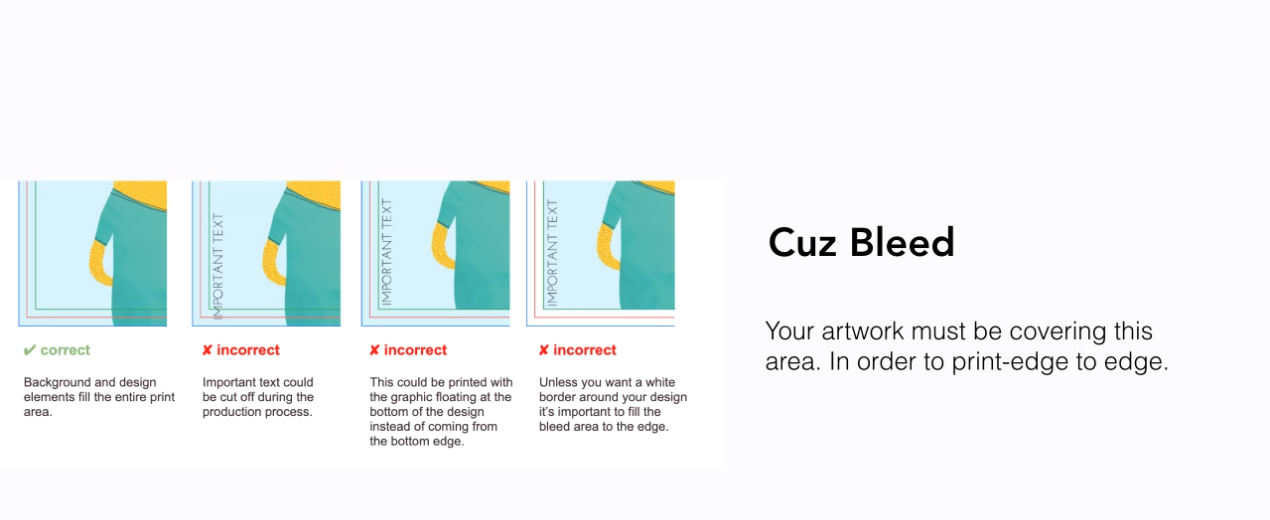
Bleed is a printing term that is used to describe the space in an image that extends beyond what will be physically trimmed to create the product.
Image files that contain bleed ensure that products like pillows, which are first printed on and then sewn together, do not have a blank space on the border of your artwork. In other words, your artwork will be printed edge-to-edge. The Bleed area gets cut off during the production process but the safe zone does not.
- Please note that our cut & sew products are sewn manually, so slight variations between the mock-up and the area that is actually cut off in production are to be expected.
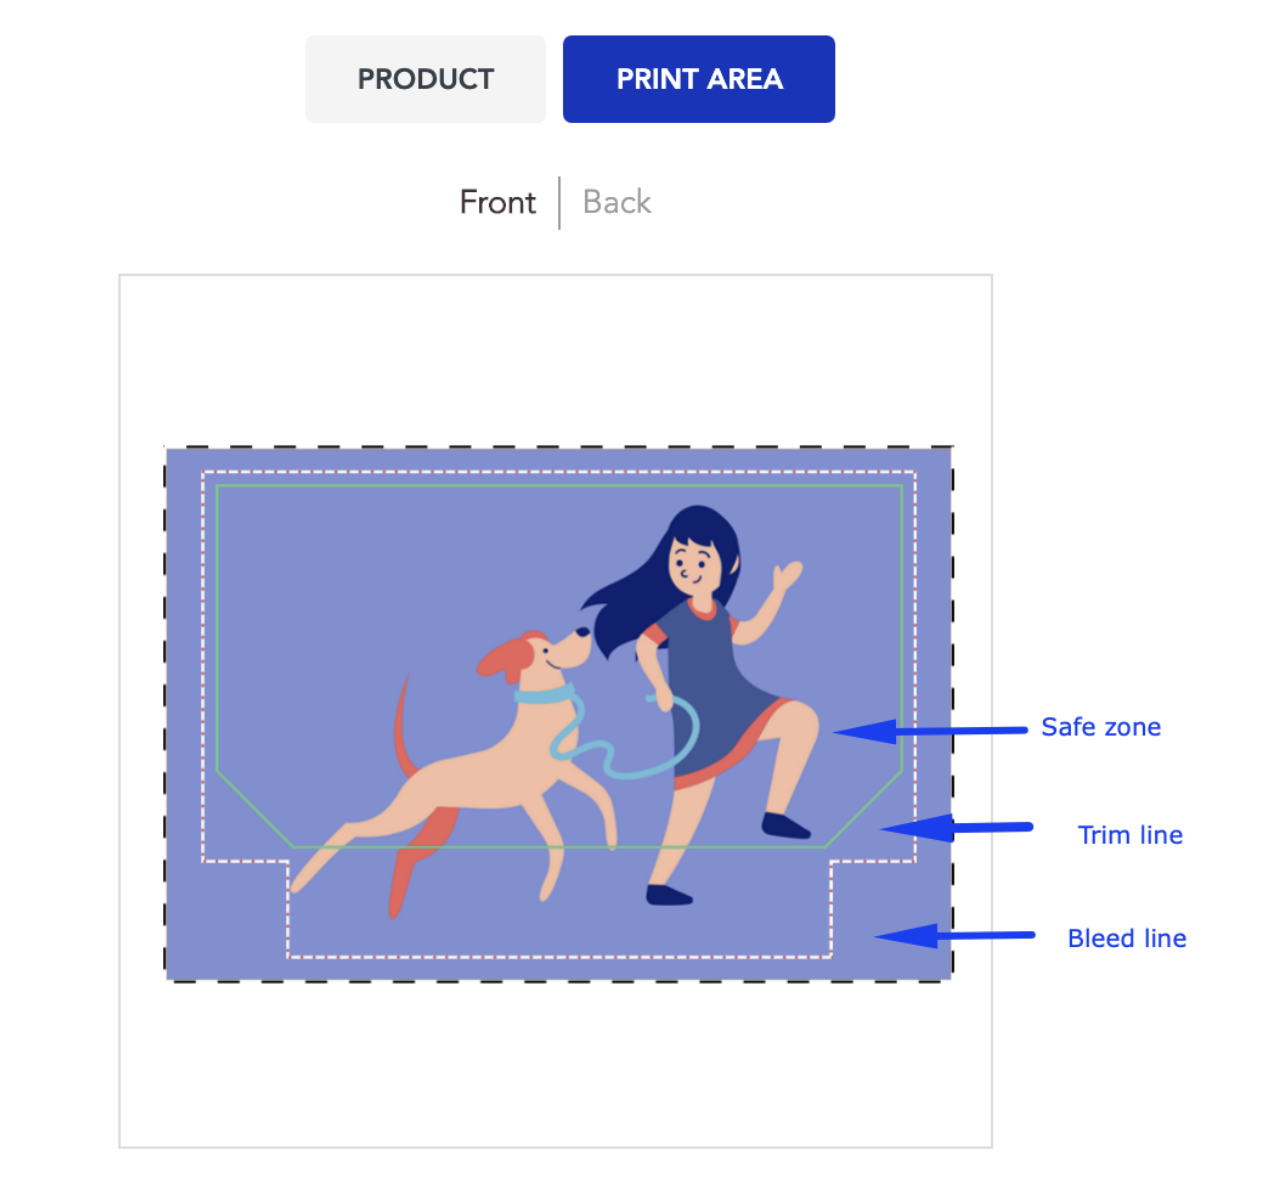
All of the design elements you want to have printed should be within the safe zone (shown below) but make sure the bleed area is filled up too:

The bleed area is the outer dark red area in our product hub and everything within that space will be trimmed off. You should still extend your design to the edge of this area to prevent the appearance of irregular white borders.
The trim line is the outer white dotted line which shows the cut / sew line for the product. You’ll have to extend your design past this line to account for a cutting margin of error. Anything in this area might be trimmed off slightly in some products.
The safe zone is the inner white dotted line. Any artwork inside this line will not be cropped, so you’ll want to keep all your important content within this white box.
